
Step 4 - Deploy Assistant
Now that your assistant is ready to go, let's deploy it to production and add it to a channel.
Deploying to Production
To deploy your assistant to production you need to do the two following steps.
- Run a preview of the assistant: This compiles the project
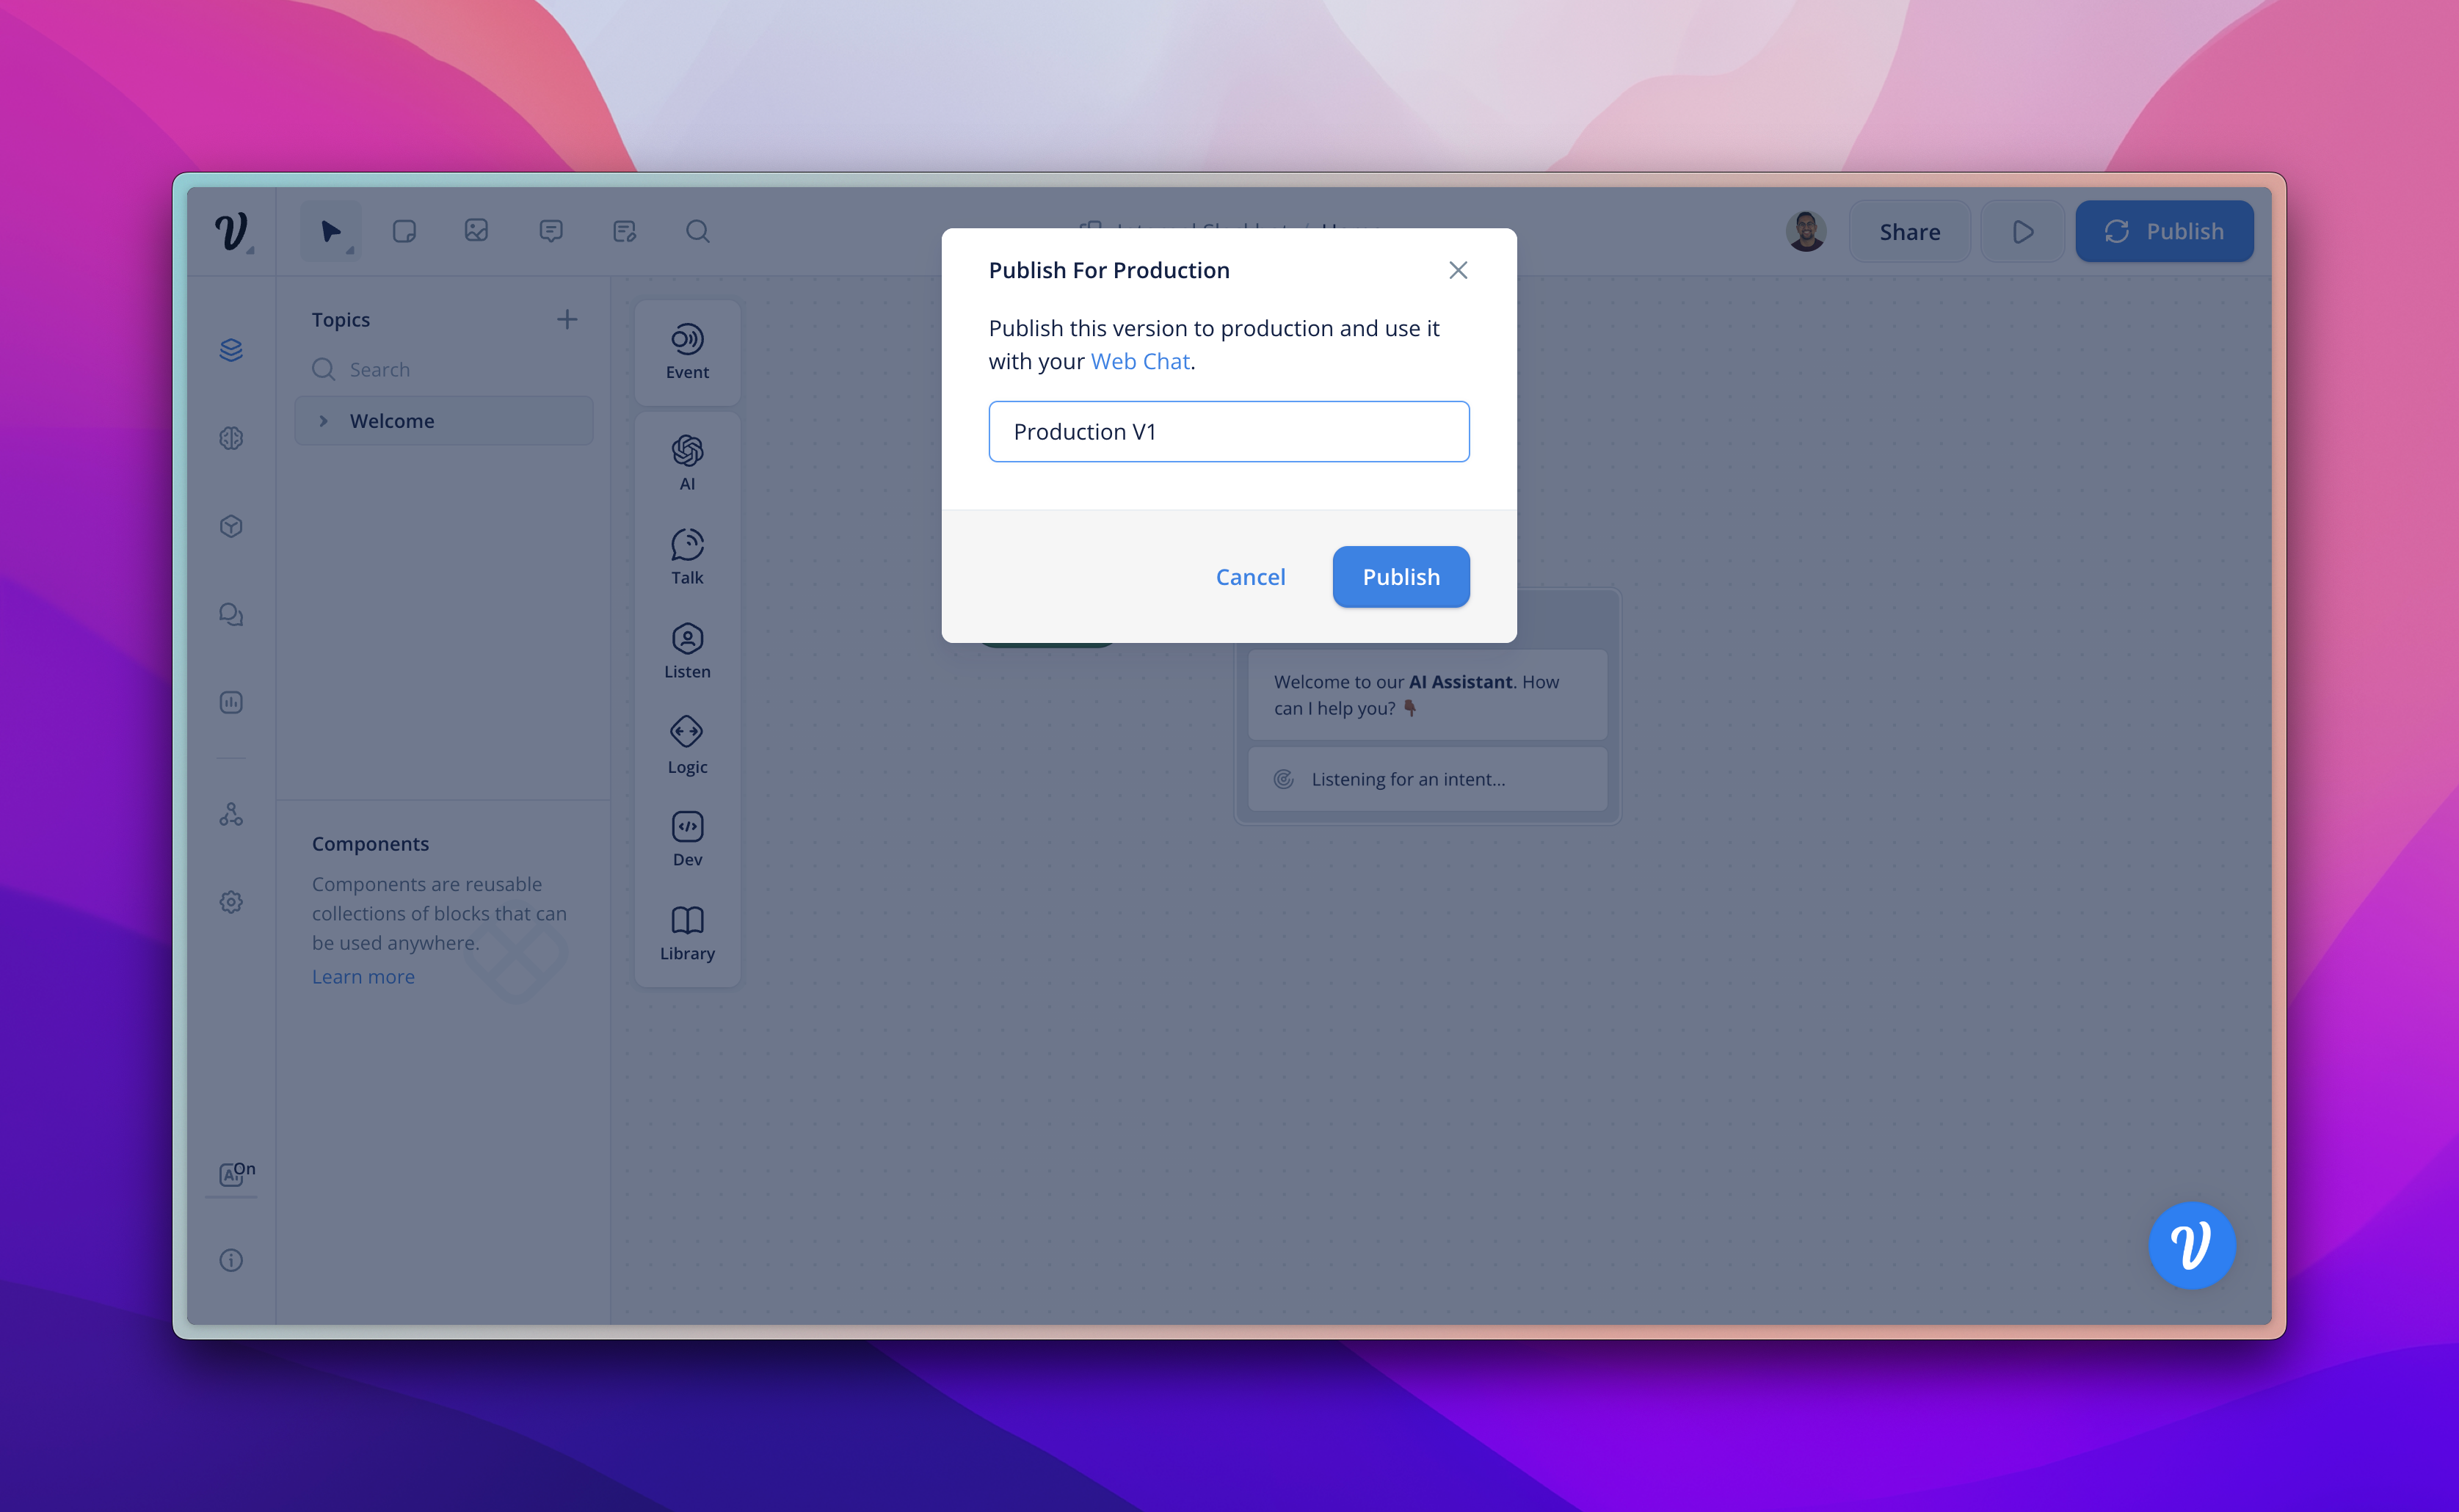
- Press 'Publish' on the top right: This pushes the version to production
- Create a Version: This allows you to roll back if something breaks
When you press publish it will prompt you to create a version. Previous versions can be viewed in the project settings.
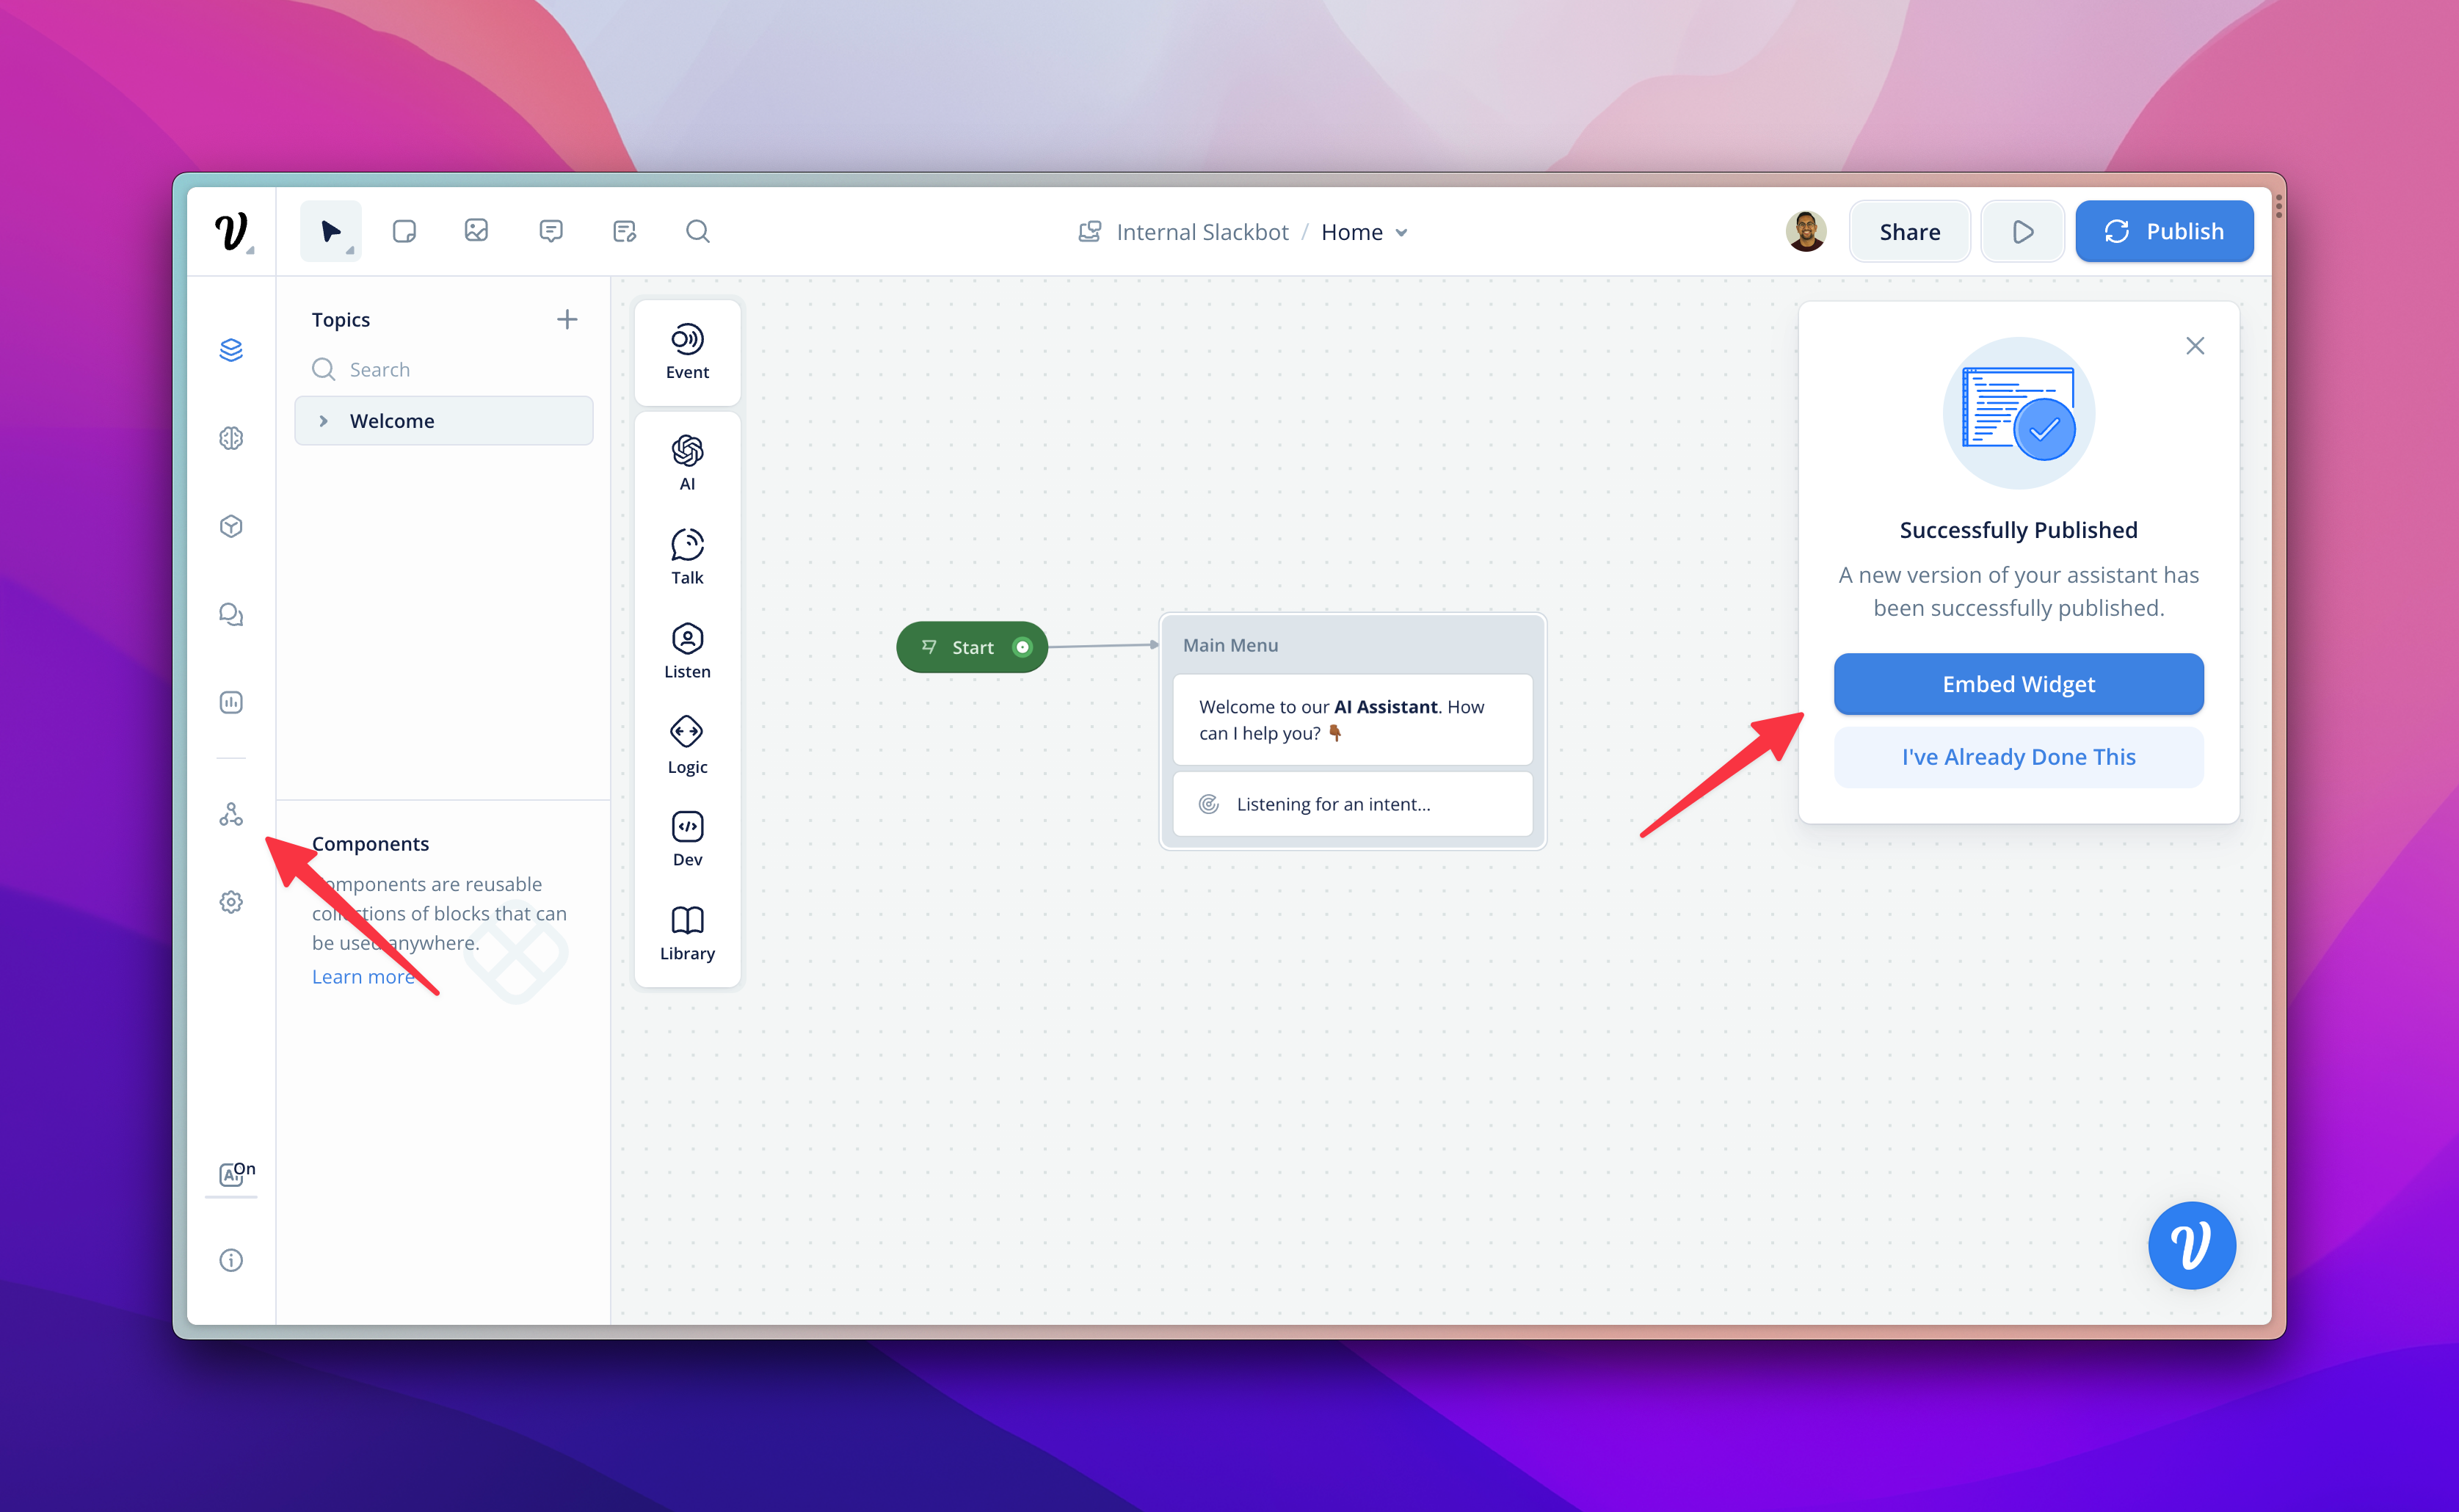
Once the project has been published (there will be a progress bar on the top of the screen). You are ready to move to the next step.
Adding to a Website
If you have created a Web Chat type project, you can easily add your chatbot to any website. To access the snippet - click 'embed widget' or visit the integrations tab on the left side of the screen.
Once you're there you simply have to copy this snippet and add it to your website code. You can either add it to the footer file or your website if you want it to appear on every page, or at the bottom before the closing tag on the specific page you want it on.
Here's a quick video overview of how to test it out. For basic instructions on how to customize the web chat appearance click here. For instructions on how to further customize the web chat, go here.
Using the API
Clone the starter pack
Download the API Examples repo found here to access a variety of prebuilt API examples, including Node.js, Python, Rust and HTML.
Authentication
We'll need to access the Project API key for the design we want to connect into our app. To obtain the API Key:
- Open the Assistant project you are using
- Select on the Integrations tab (shortcut:
3). Found on the left-hand menu. - Copy the
Dialog API Keyfound in the Dialog API section.
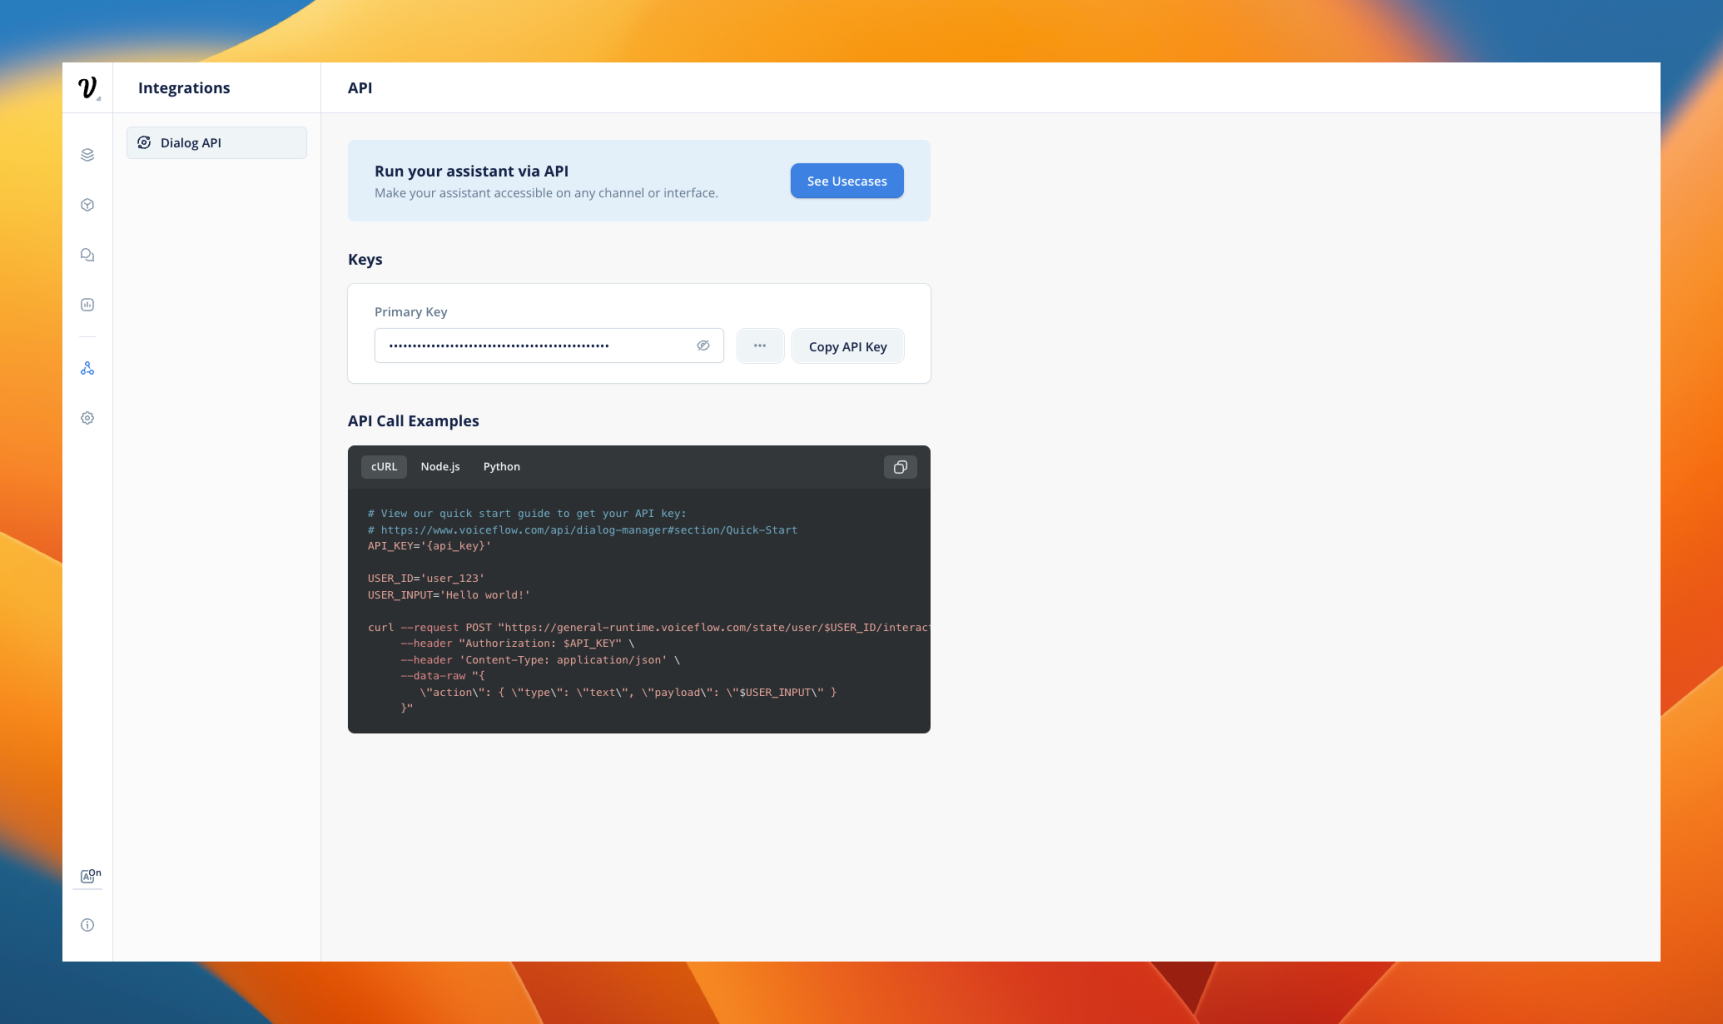
Above you can see the Integrations section within an Assistant project
Launch
Open up the API Examples pack in your favourite code editor.
HTML and JQuery
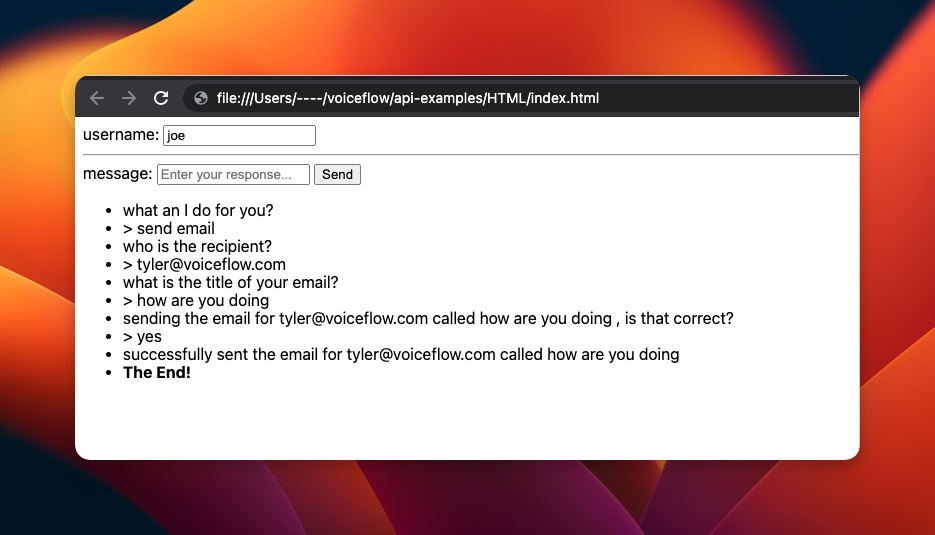
- Replace
'YOUR_API_KEY_HERE'inindex.htmlwith your API Key.- Open index.html on any browser to start your chat!
Example:
Node.js
- If you do not have node, install Node.js and npm from nodejs.org, or follow an equivalent guide.
- In this folder, run
npm install.- Replace
'YOUR_API_KEY_HERE'inindex.jswith your Dialog Manager API Key.- run
npmstart to start your chat!
Example:
$ npm start

> What is your name?: tyler
what can I do for you?
...
> Say something: send email
who is the recipient?
...
> Say something: [email protected]
what is the title of your email?
...
> Say something: How was your day?
sending the email for [email protected] called "How was your day?". Is that correct?
...
> Say something: yes
successfully sent the email for [email protected] called "How was your day?"
The end! Start me again with `npm start`
Video Walkthrough
Dialog Manager API Examples
https://github.com/voiceflow/api-examples
Scaling Your Assistant
To learn how to scale your assistant you can visit our guides below
Updated 5 months ago