
Alexa Shopping Actions
Alexa Shopping Actions
Introduction
In this article we will learn how to setup and use Alexa Shopping Actions in your Voiceflow Alexa project.
Context
With Alexa Shopping Actions, you can build a custom skill that recommends physical products with Alexa shopping. Customers can buy the recommended product or add it to their Amazon Shopping Cart or Wish List without leaving the skill. For example, your role-playing skill might offer the customer the opportunity to buy the corresponding board game. Customers pay for products by using the payment options associated with their Amazon account.
Restrictions
The following restrictions apply to skills that use Alexa Shopping Actions:
- To use Alexa Shopping in your skill, customers must enable voice purchasing in the Alexa app.
- To purchase products in your skill, customers must have a default 1-click setting enabled on their Amazon account.
- You can't use Alexa Shopping Actions in child-directed skills.
- You can't use Alexa Shopping Actions in Health Insurance Portability and Accountability Act (HIPAA) skills.
The following products on the Amazon retail website aren't eligible for Alexa Shopping Actions:
- Prime Pantry.
- Subscriptions.
- Products with customization features, such as t-shirt sizes or a subscription option.
- Grocery and consumable products from subsidiaries, such as Whole Foods and Prime Now.
- Video and e-gift cards.
- In-skill purchasing products.
- Products with age restrictions, alcohol, or explicit content might not be available in all locales.
How it works
- Use a Directive step to use a Connections.StartConnection and the AMAZON.AddToShoppingCart URI
- Use an Event step to handle the response returned
- Upload to the Alexa Developer Console and activate Alexa Shopping Actions
Step 1 | Create the Directive
The first thing we want to setup is our Alexa project, start by creating a brand new Alexa project in the Creator app.
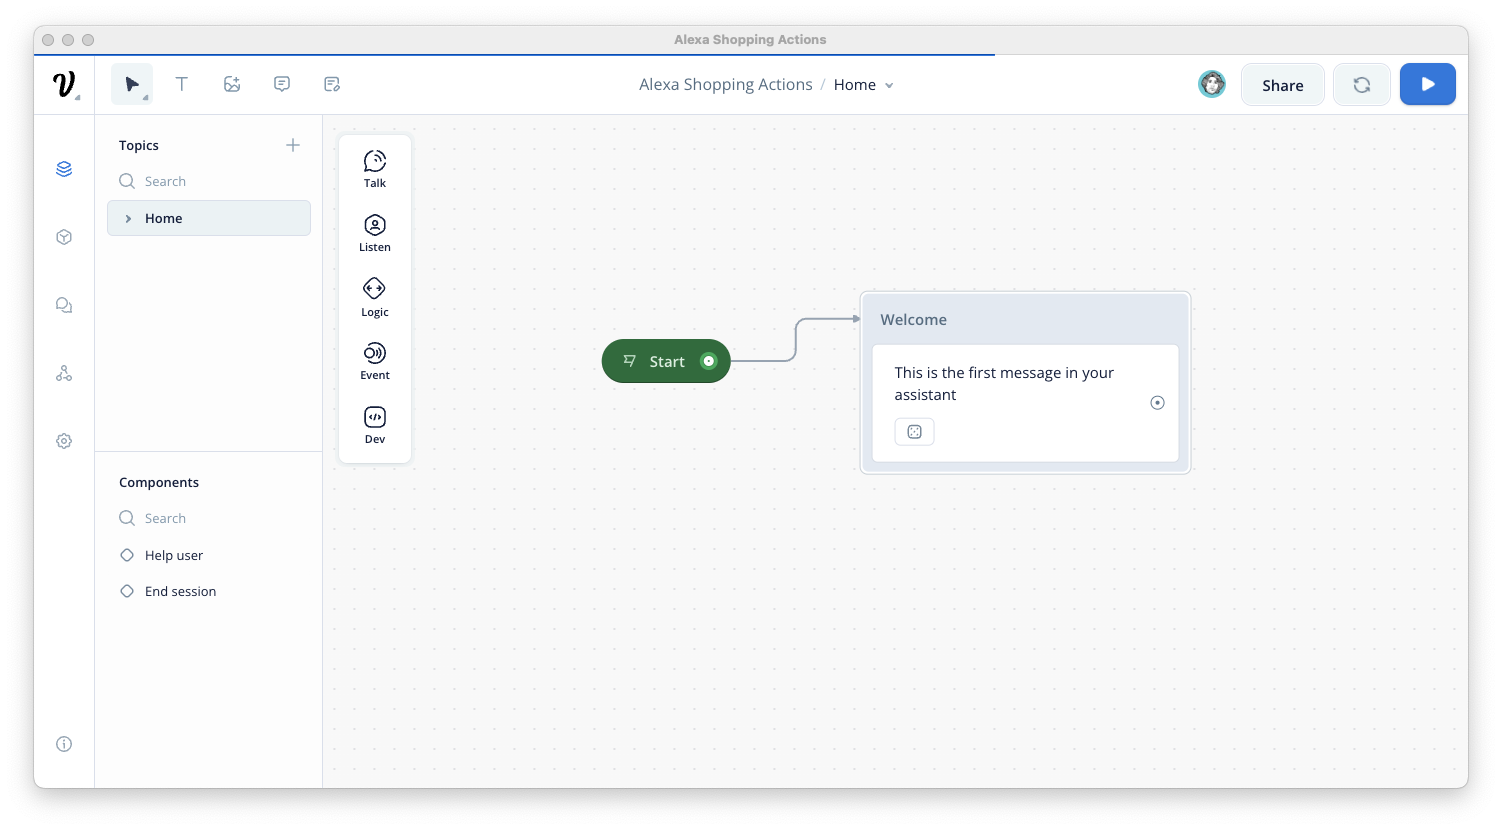
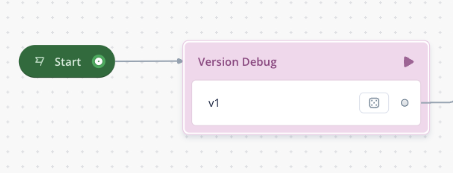
Replace or update the default Speak step to debug the version instead.
Now, we want to create 3 new variables and set their values to 0.
Add a Set step, create the following variables:
{statusCode}
{resultCode}
{addResult}
And set their values to 0

The new step in this combine block is the Directive step. Based on the Amazon documentation (link at the bottom of this article), to use the Connections.StartConnection and the AMAZON.AddToShoppingCart, we need to use a code similar to this one in our Directive step:
{
  "type": "Connections.StartConnection",
  "uri": "connection://AMAZON.AddToShoppingCart/1",
  "input": {
    "products": [
      {
        "asin": "B077C8VZZS"
      }
    ]
  },
  "token": "AddToShoppingCartToken"
}
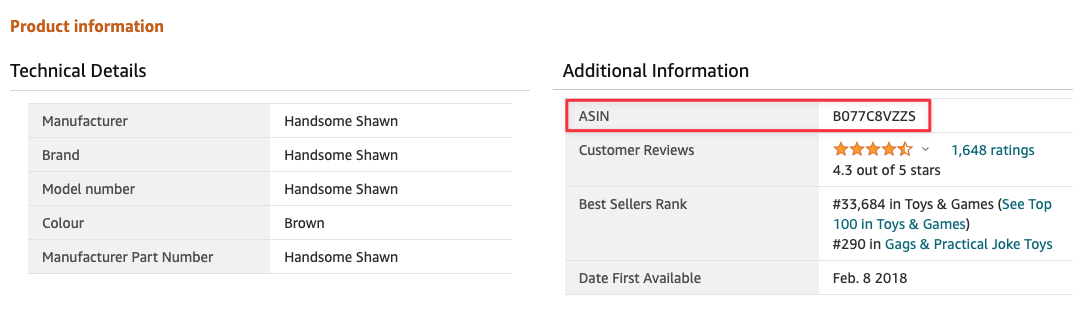
Here, the only thing you might want to change is the ASIN value.
For this project, I will let the user add the following product to their shopping cart
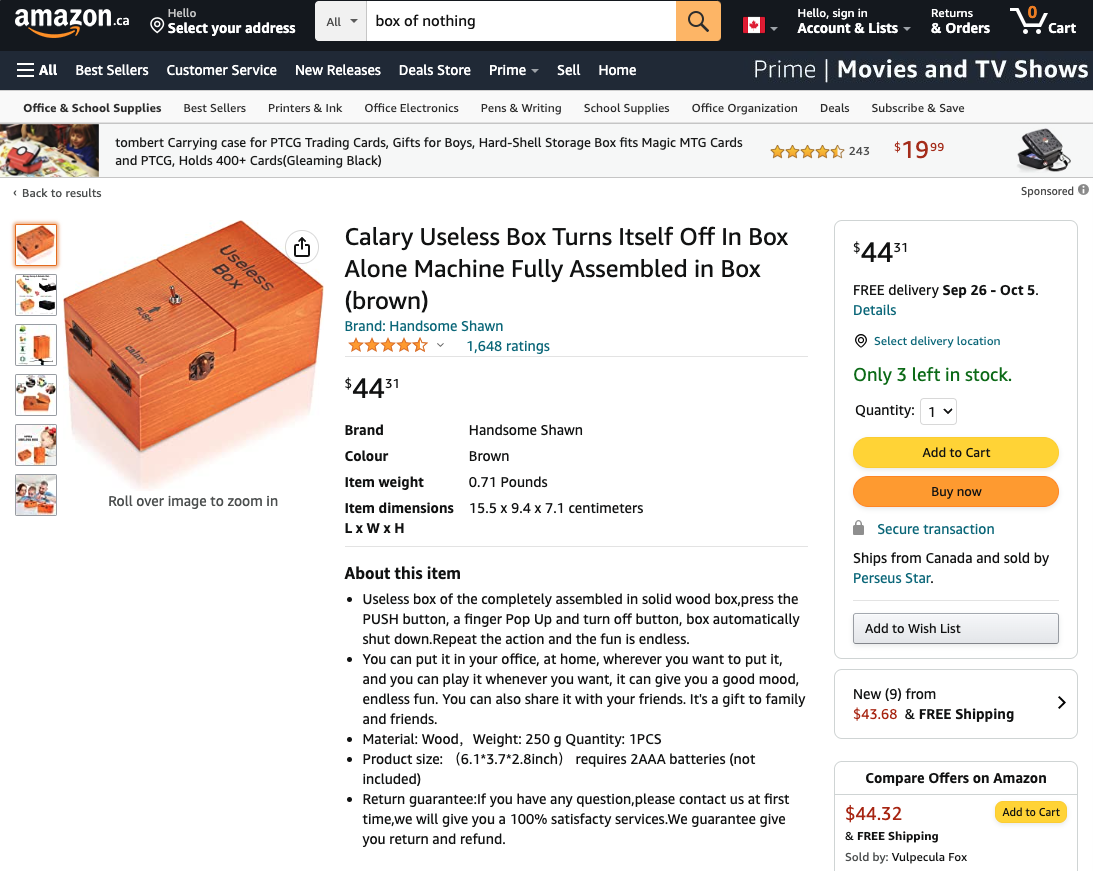
Of course, you want to double check that the product is eligible first.
⚠️ The following products on the Amazon retail website aren't eligible for Alexa Shopping Actions:- Prime Pantry.
- Subscriptions.
- Products with customization features, such as t-shirt sizes or a subscription option.
- Grocery and consumable products from subsidiaries, such as Whole Foods and Prime Now.
- Video and e-gift cards.
- In-skill purchasing products.
- Products with age restrictions, alcohol, or explicit content might not be available in all locales.
You can find the ASIN in the product URL or on the product page:
The last step we want to add to this Block is a Javascript step to set the _response variable to keep the session open as explained in the Amazon documentation.
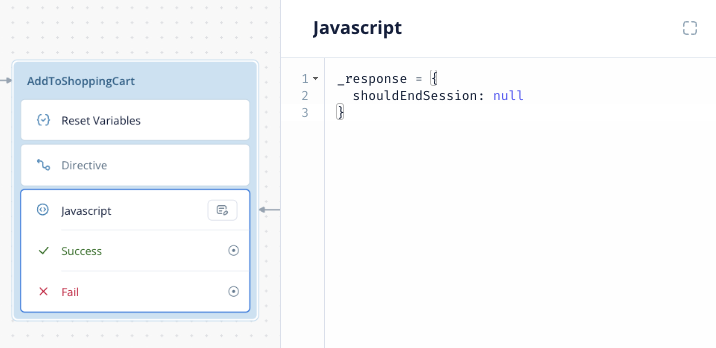
_response = {
  shouldEndSession: null
}
Step 2 | Handle the Event
When we will reach the Directive step, Alexa will handle the conversation for us, sharing details about the product linked to the ASIN and asking the user if they want to add it to their shopping cart.
We want to handle all the possible status and to do so, we will have to map the full response to the {directiveResponse} variable.
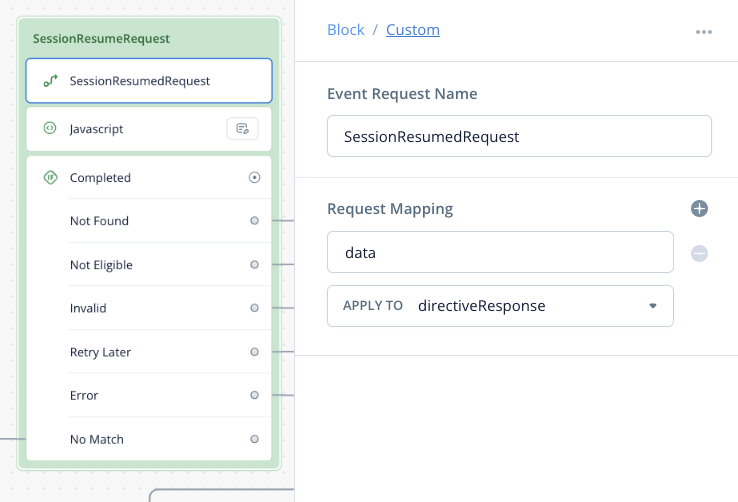
data > {directiveResponse}
Step 3 | Do some logic
The next step is a Javascript one. This will allow us to handle our logic based on the {directiveResponse} object.
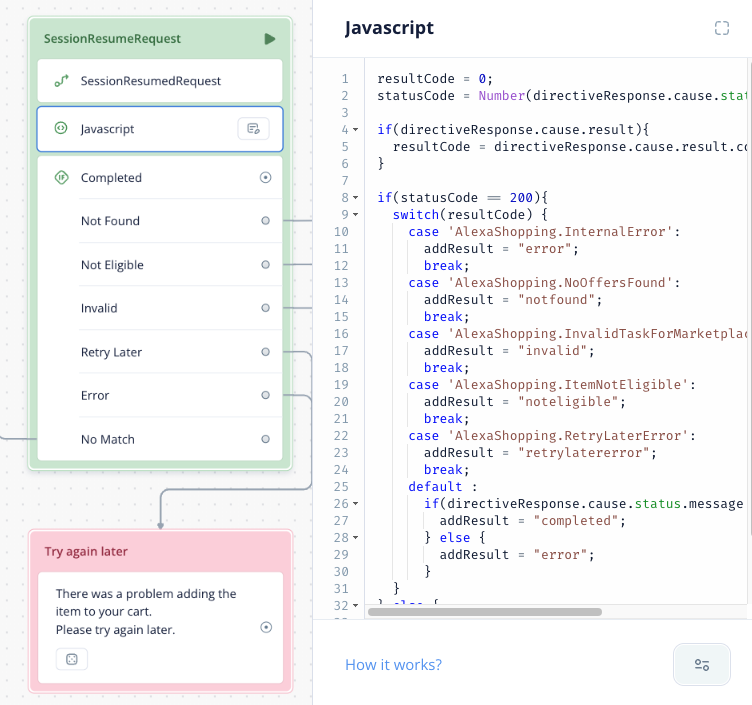
resultCode = 0;
statusCode = Number(directiveResponse.cause.status.code) || 0;

if(directiveResponse.cause.result){
  resultCode = directiveResponse.cause.result.code || 0;
}

if(statusCode == 200){
  switch(resultCode) {
    case 'AlexaShopping.InternalError':
      addResult = "error";
      break;
    case 'AlexaShopping.NoOffersFound':
      addResult = "notfound";
      break;
    case 'AlexaShopping.InvalidTaskForMarketplace':
      addResult = "invalid";
      break;
    case 'AlexaShopping.ItemNotEligible':
      addResult = "noteligible";
      break;
    case 'AlexaShopping.RetryLaterError':
      addResult = "retrylatererror";
      break;
    default :
      if(directiveResponse.cause.status.message == 'SUCCESS:Successful.') {
        addResult = "completed";
      } else {
        addResult = "error";
      }
  }
} else {
  addResult = "error";
}
As you can read from this code, it’s just a matter of populating the {addResult} variable based on the statusCode and the resultCode items from the response.
This should cover most of the possible code, you can go deeper by reading the full Amazon documentation shared in our doc links at the end of this article.
Adding a final Conditions step to this combine block will allow us to redirect the user based on the {addResult} variable value.
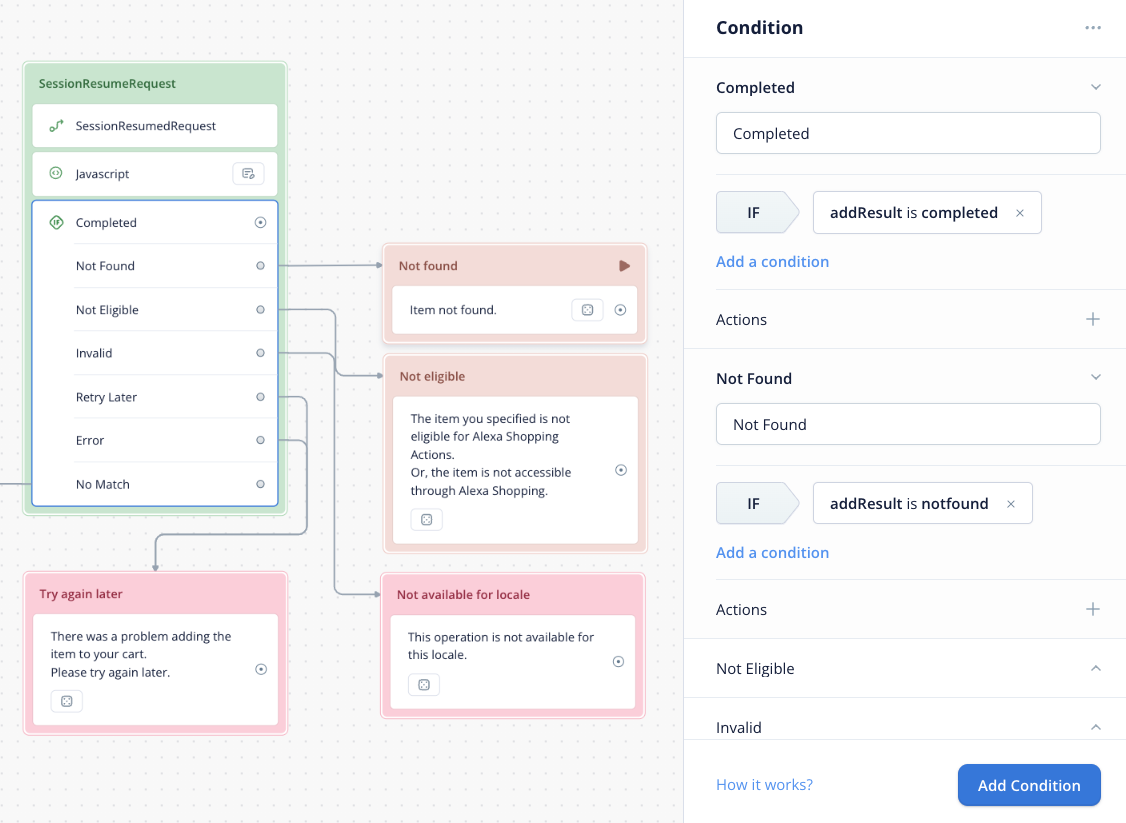
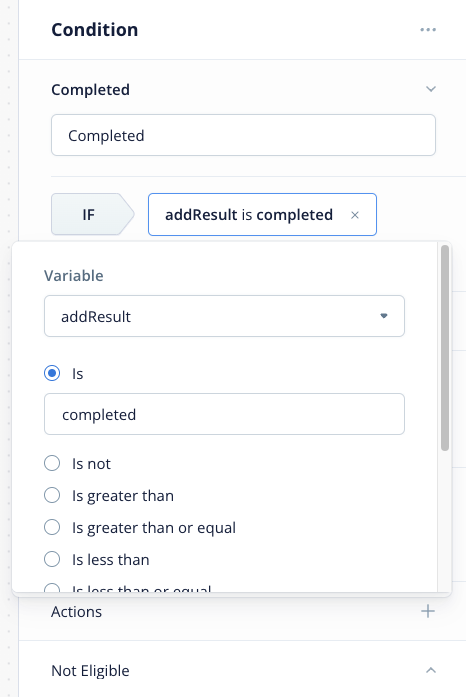
Here are the list of the conditions used in this project:
addResult is completed
addResult is notfound
addResult is noteligible
addResult is invalid
addResult is retrylatererror
addResult is error
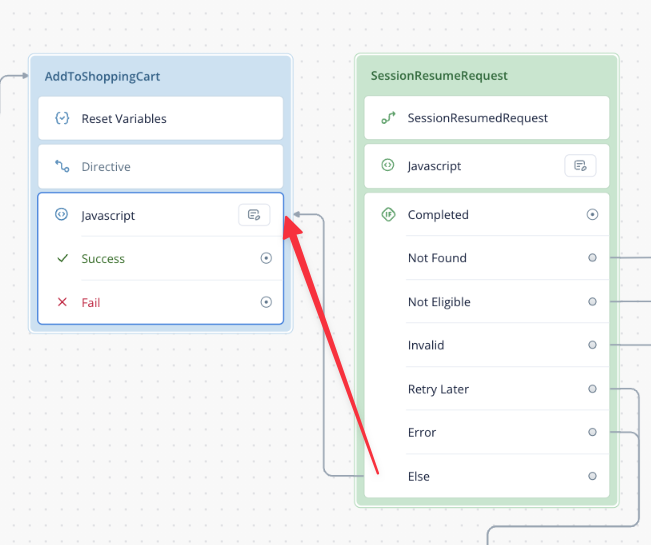
We’ve also added the No Match path, renamed it to Else and link it to the existing Javascript step to set the shouldEndSession to null.
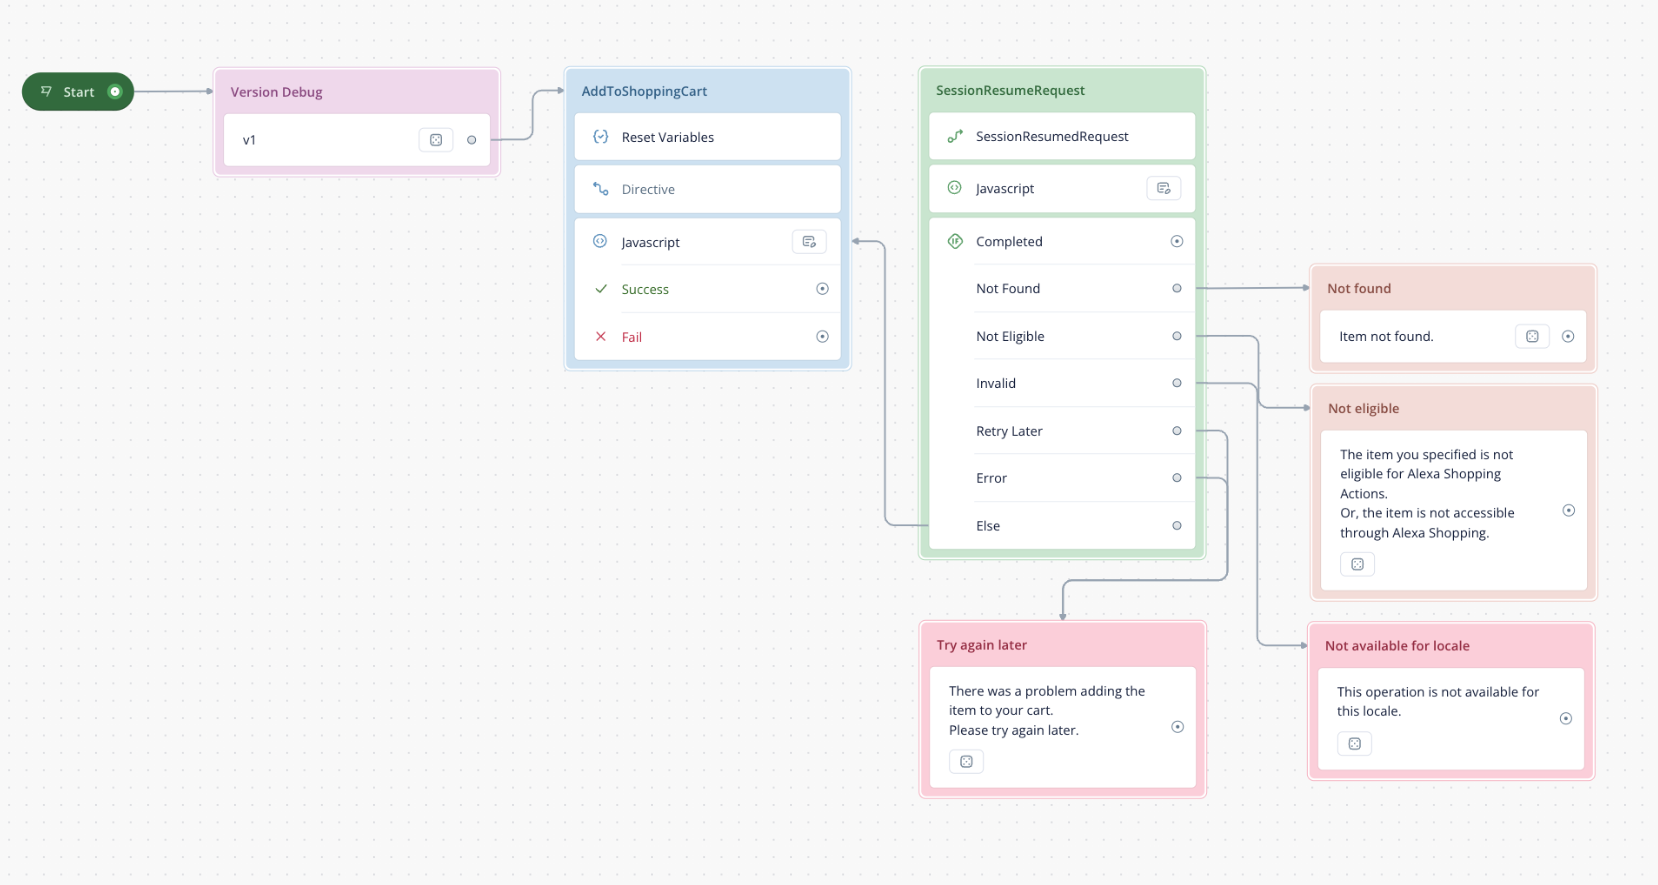
After linking some Speak steps to the different ports of the Conditions step, you should have something similar to this:
Step 4 | Upload and Test your skill
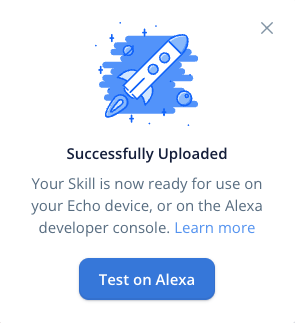
Now, let’s upload the project to Alexa
On the Alexa Developer Console (ADC), go to the Distribution tab, Privacy & Compliance section and choose Yes for the question “Does this skill use Alexa Shopping Actions?”
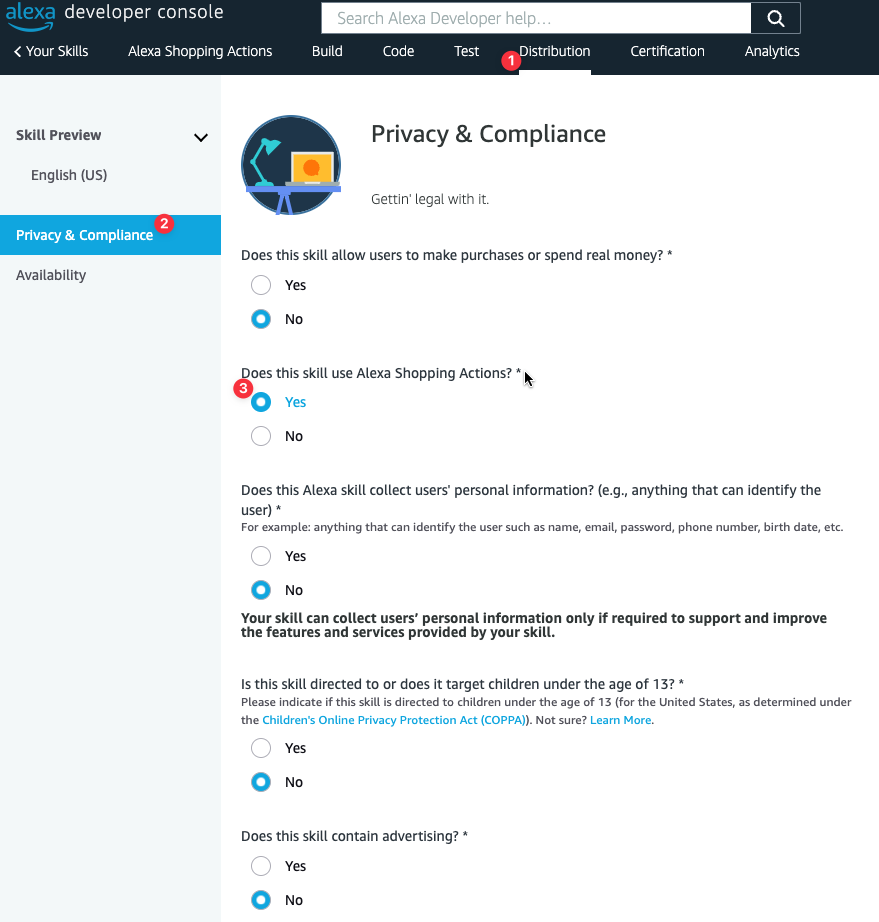
Then click Save and continue at the bottom of the page

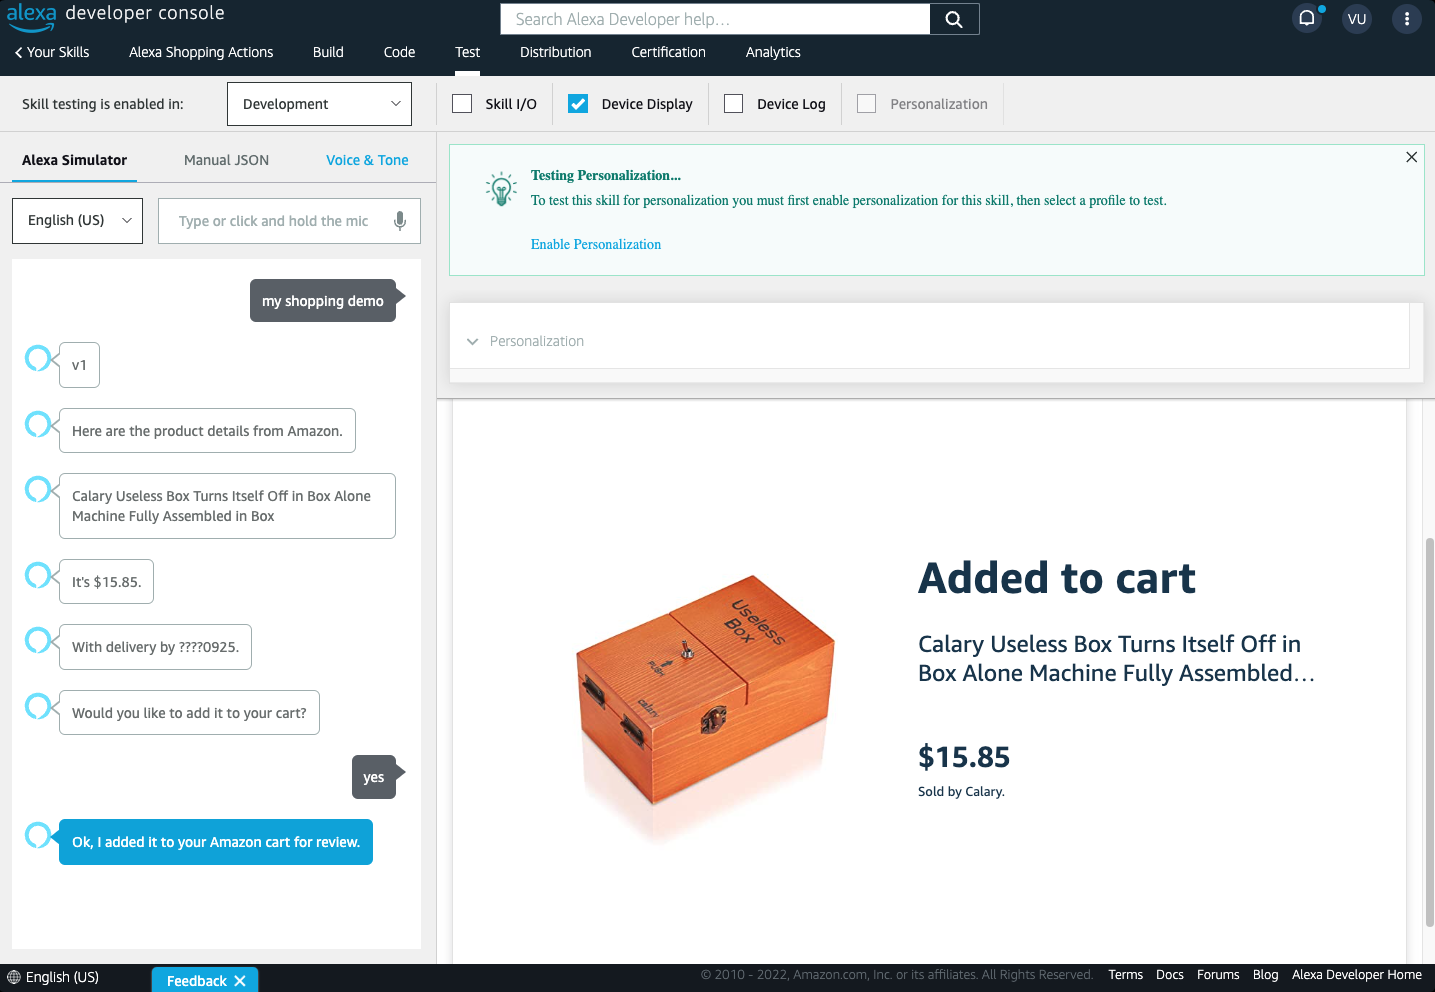
Go back to the Build tab and test your skill
Information
💡 For each upload, you might need to wait around 3-5 minutes for the changes made into your Voiceflow project to populate on the Alexa Developer Console and being able to fully test the skill.
A good way to be sure that you are testing the updated version is to use a Speak step at the very beginning of your project with a version number. That way you can quickly know if you’re testing the correct updated version or if you have to wait a bit for your changes to propagate.
Documentation
Alexa Shopping Actions
Add Alexa Shopping Actions to Your Alexa Skill | Alexa Skills Kit
Steps to Add Alexa Shopping Actions to your Skill
Steps to Add Alexa Shopping Actions to Your Skill | Alexa Skills Kit
Implement Alexa Shopping Actions
Implement Alexa Shopping Actions in Your Skill | Alexa Skills Kit
Updated 5 months ago