
WhatsApp (Basic)
Connect Voiceflow to WhatsApp
Changes to WhatsApp projects
On November 8th, 2023, you will no longer be able to create a WhatsApp project type on Voiceflow. Existing WhatsApp projects will continue to be supported. Looking ahead, for customers using this WhatsApp integration, we recommend instead utilizing our Dialog API or a community-built integration to launch to WhatsApp. You can find more information and our advanced integration documentation here.
Get started
WhatsApp is a powerful communication tool that enables businesses to easily connect with their customers worldwide. With over 1 billion users, WhatsApp offers a simple, secure, and reliable platform for businesses to connect and engage with their audience in real-time. Whether you want to send promotional messages, provide customer support, or keep customers informed about your latest products and services, WhatsApp provides the perfect solution.

For easy integration, Voiceflow has teamed up with our messaging partner, Twilio, for easy setup and support for Whatsapp as a hosted channel option for your assistant.
Whether you only want to prototype your assistant on Whatsapp or launch it to all of your users, both paths are available as part of the integration.
Prerequisites
Before starting the integration, you will need the following:
- A Twilio account
- A Whatsapp sender
- A Twilio messaging service
This integration guide will provide you with the steps and information needed to integrate your assistant with Whatsapp.
Create a WhatsApp assistant
First, you will need to:
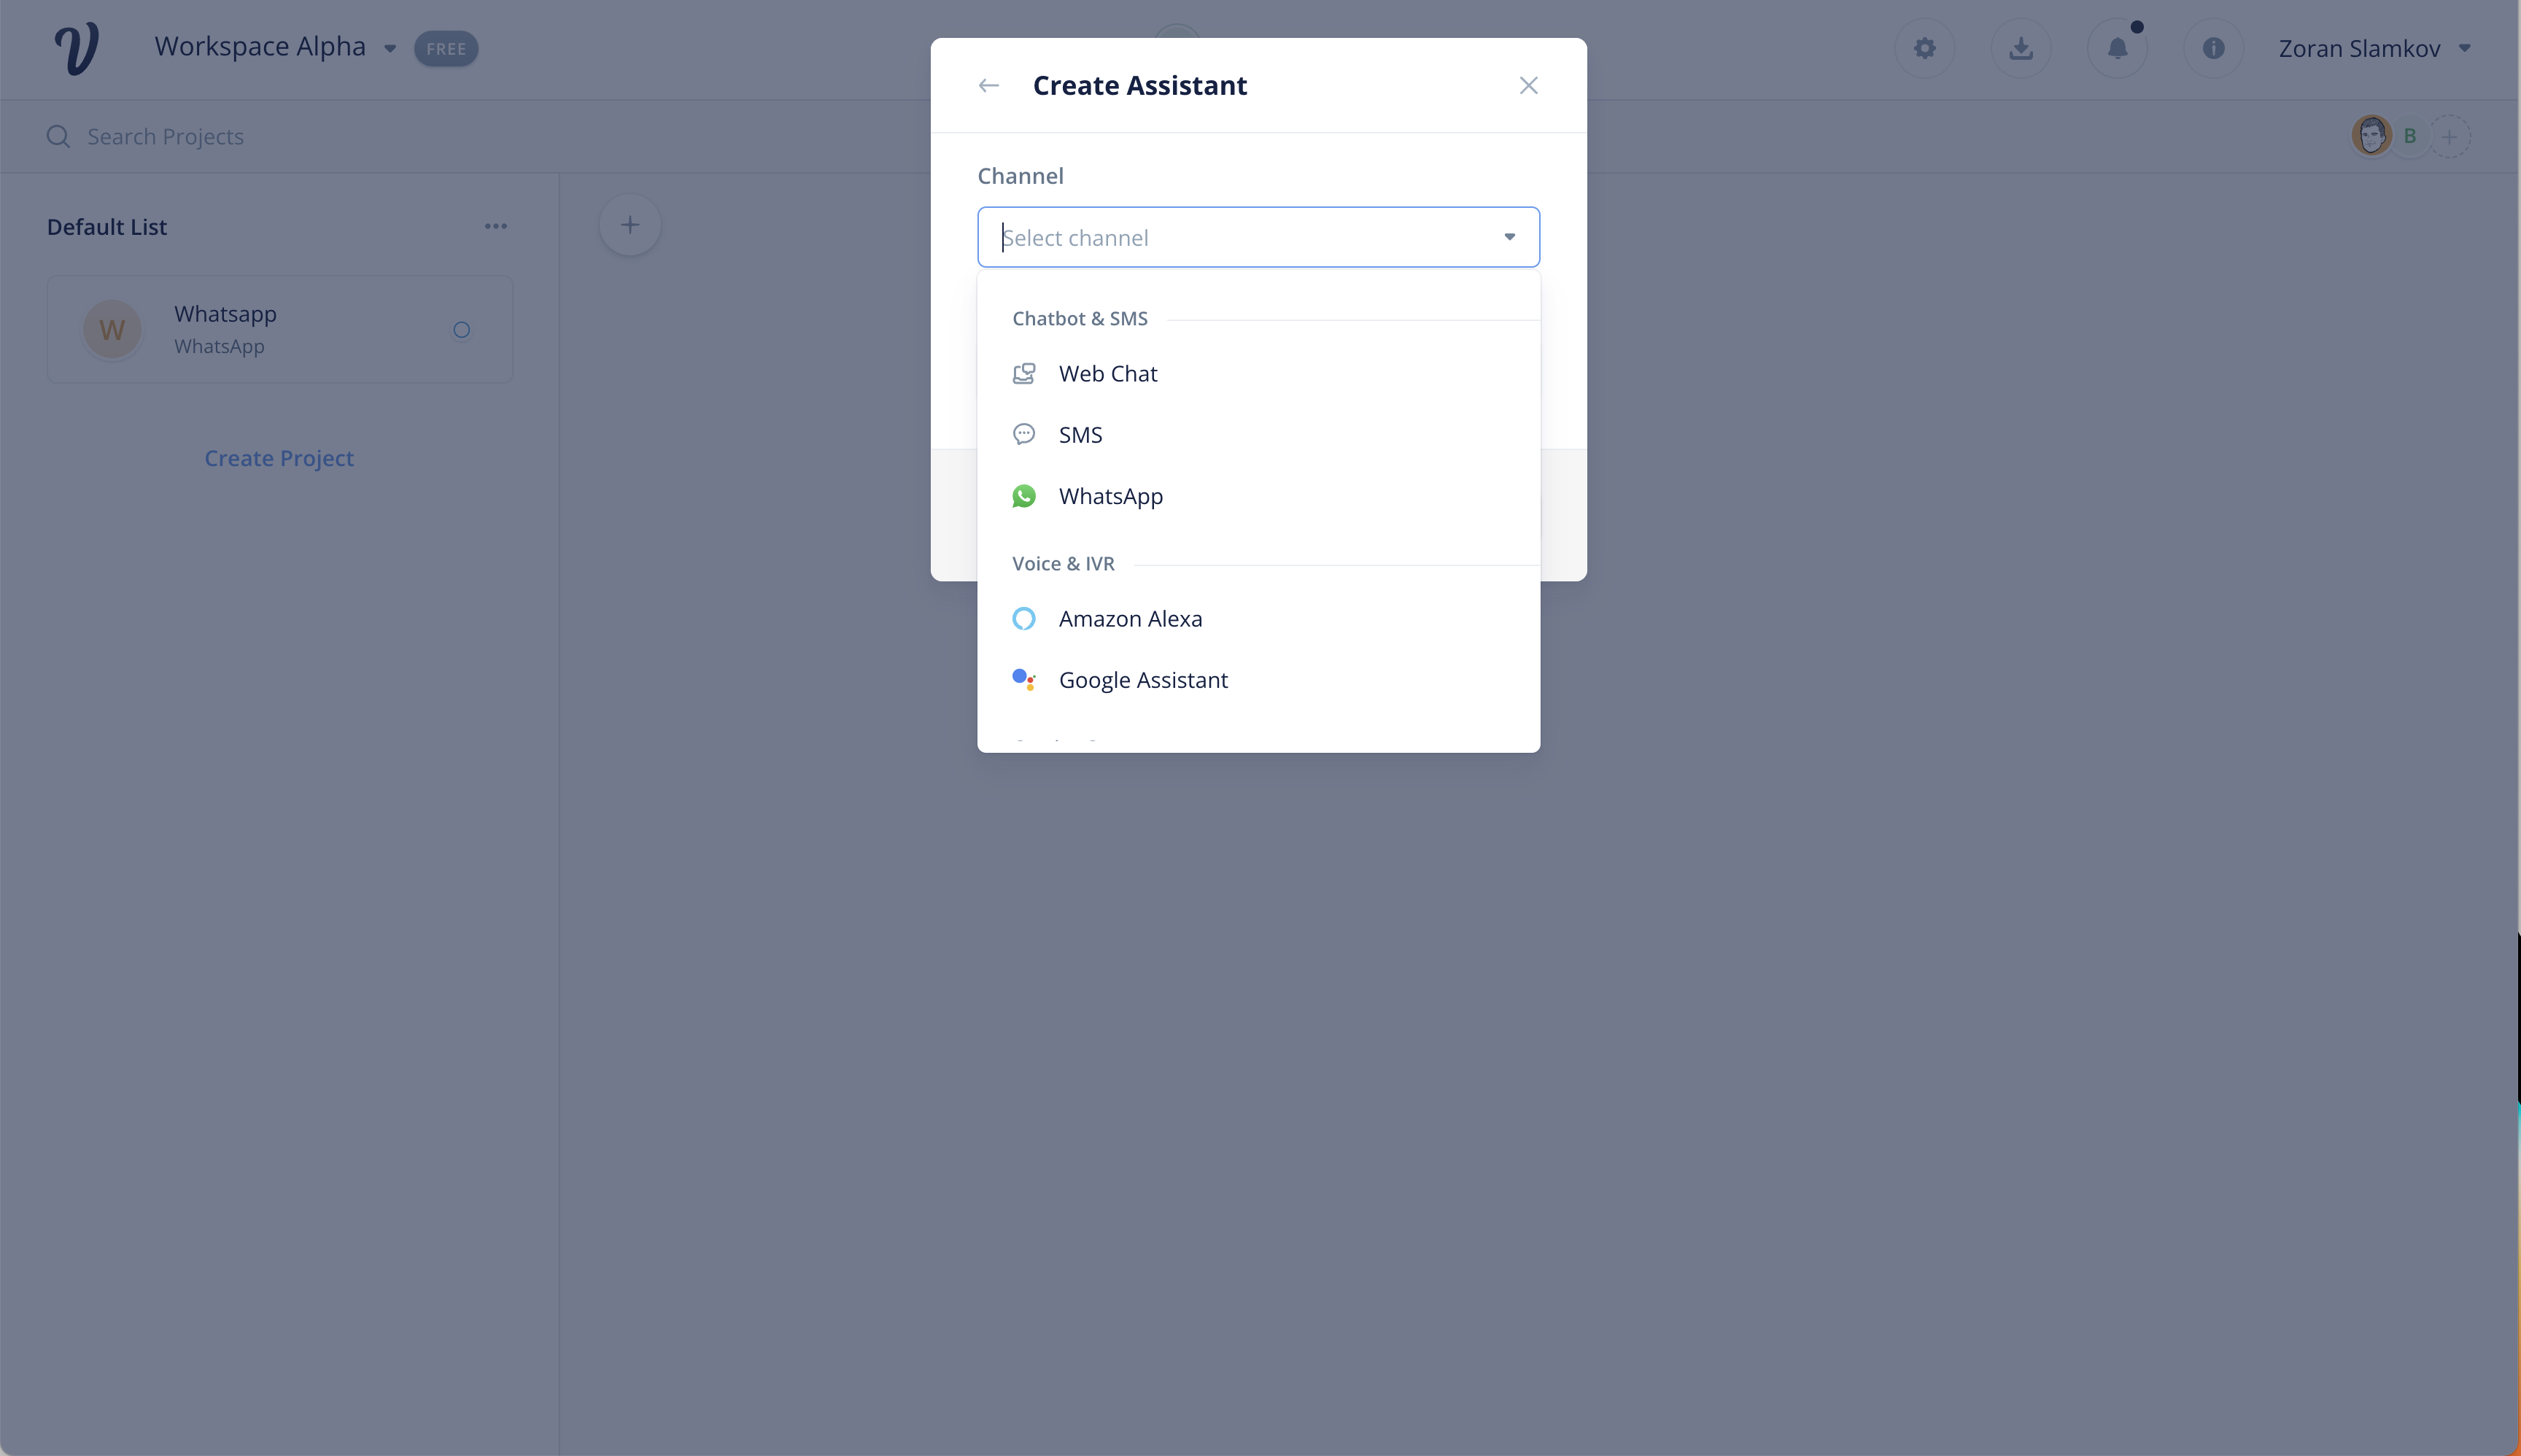
- Select Create Project
- Give your assistant a name and select the Launch and Host project type
- Select Channel -> Whatsapp
- Select the language of your assistant
- Click Create
Once created, you can begin working on your assistant design. There are two methods to see your assistant working within Whatsapp:
- Testing
- Launching
Test on WhatsApp
To test your Whatsapp assistant before taking it to production, you can take advantage of our Whatsapp sandbox.
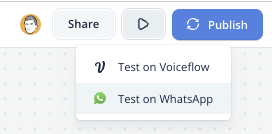
First, select the Test on Whatsapp button from the Run dropdown.
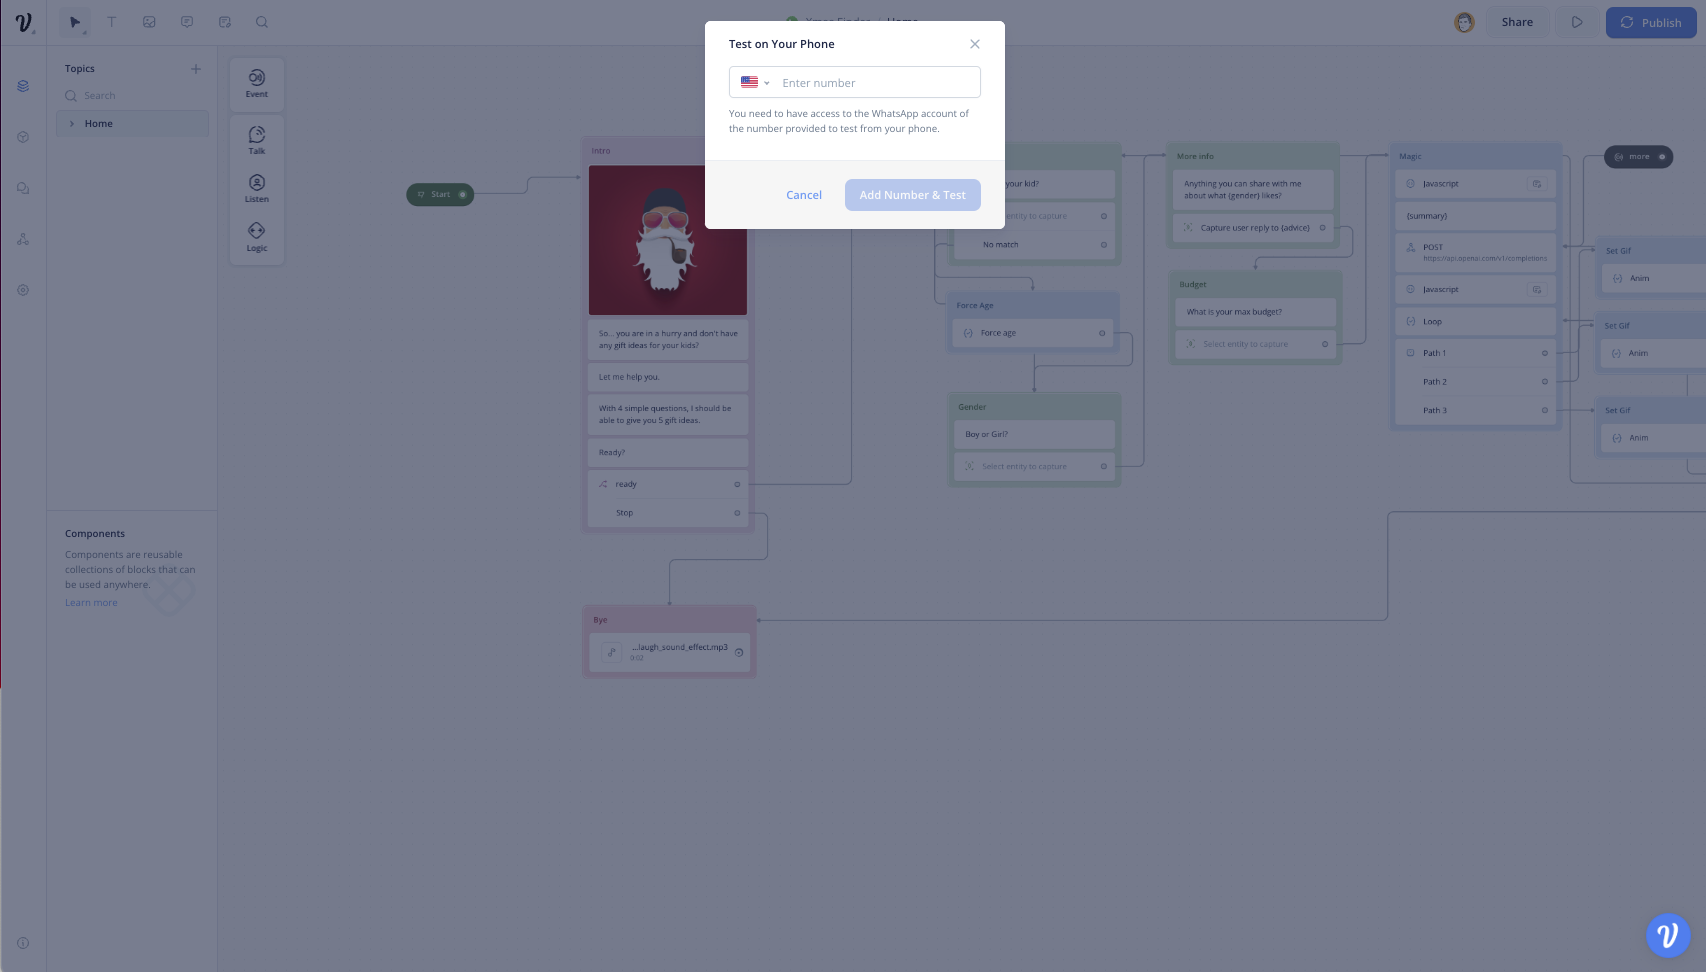
Add your phone number and select Add Number & Test.
Once the model has completed training, you should receive an outbound message from the Voiceflow number similar to below with the name of your assistant that is connected:

If you do not receive a message from Voiceflow, you can message your assistant directly by sending a Whatsapp message to +16802198814
Continue to make changes to your assistant design and test again by selecting the Test on Whatsapp option.
Launch on WhatsApp
If you do not have a WhatsApp sender available on Twilio, follow the instructions here to create one: WhatsApp Self Sign-up.
To connect your assistant to your Whatsapp sender, you will be adding a webhook to a Twilio messaging service where you Whatsapp senders are assigned. For more information about how to setup a Twilio messaging service, see here.
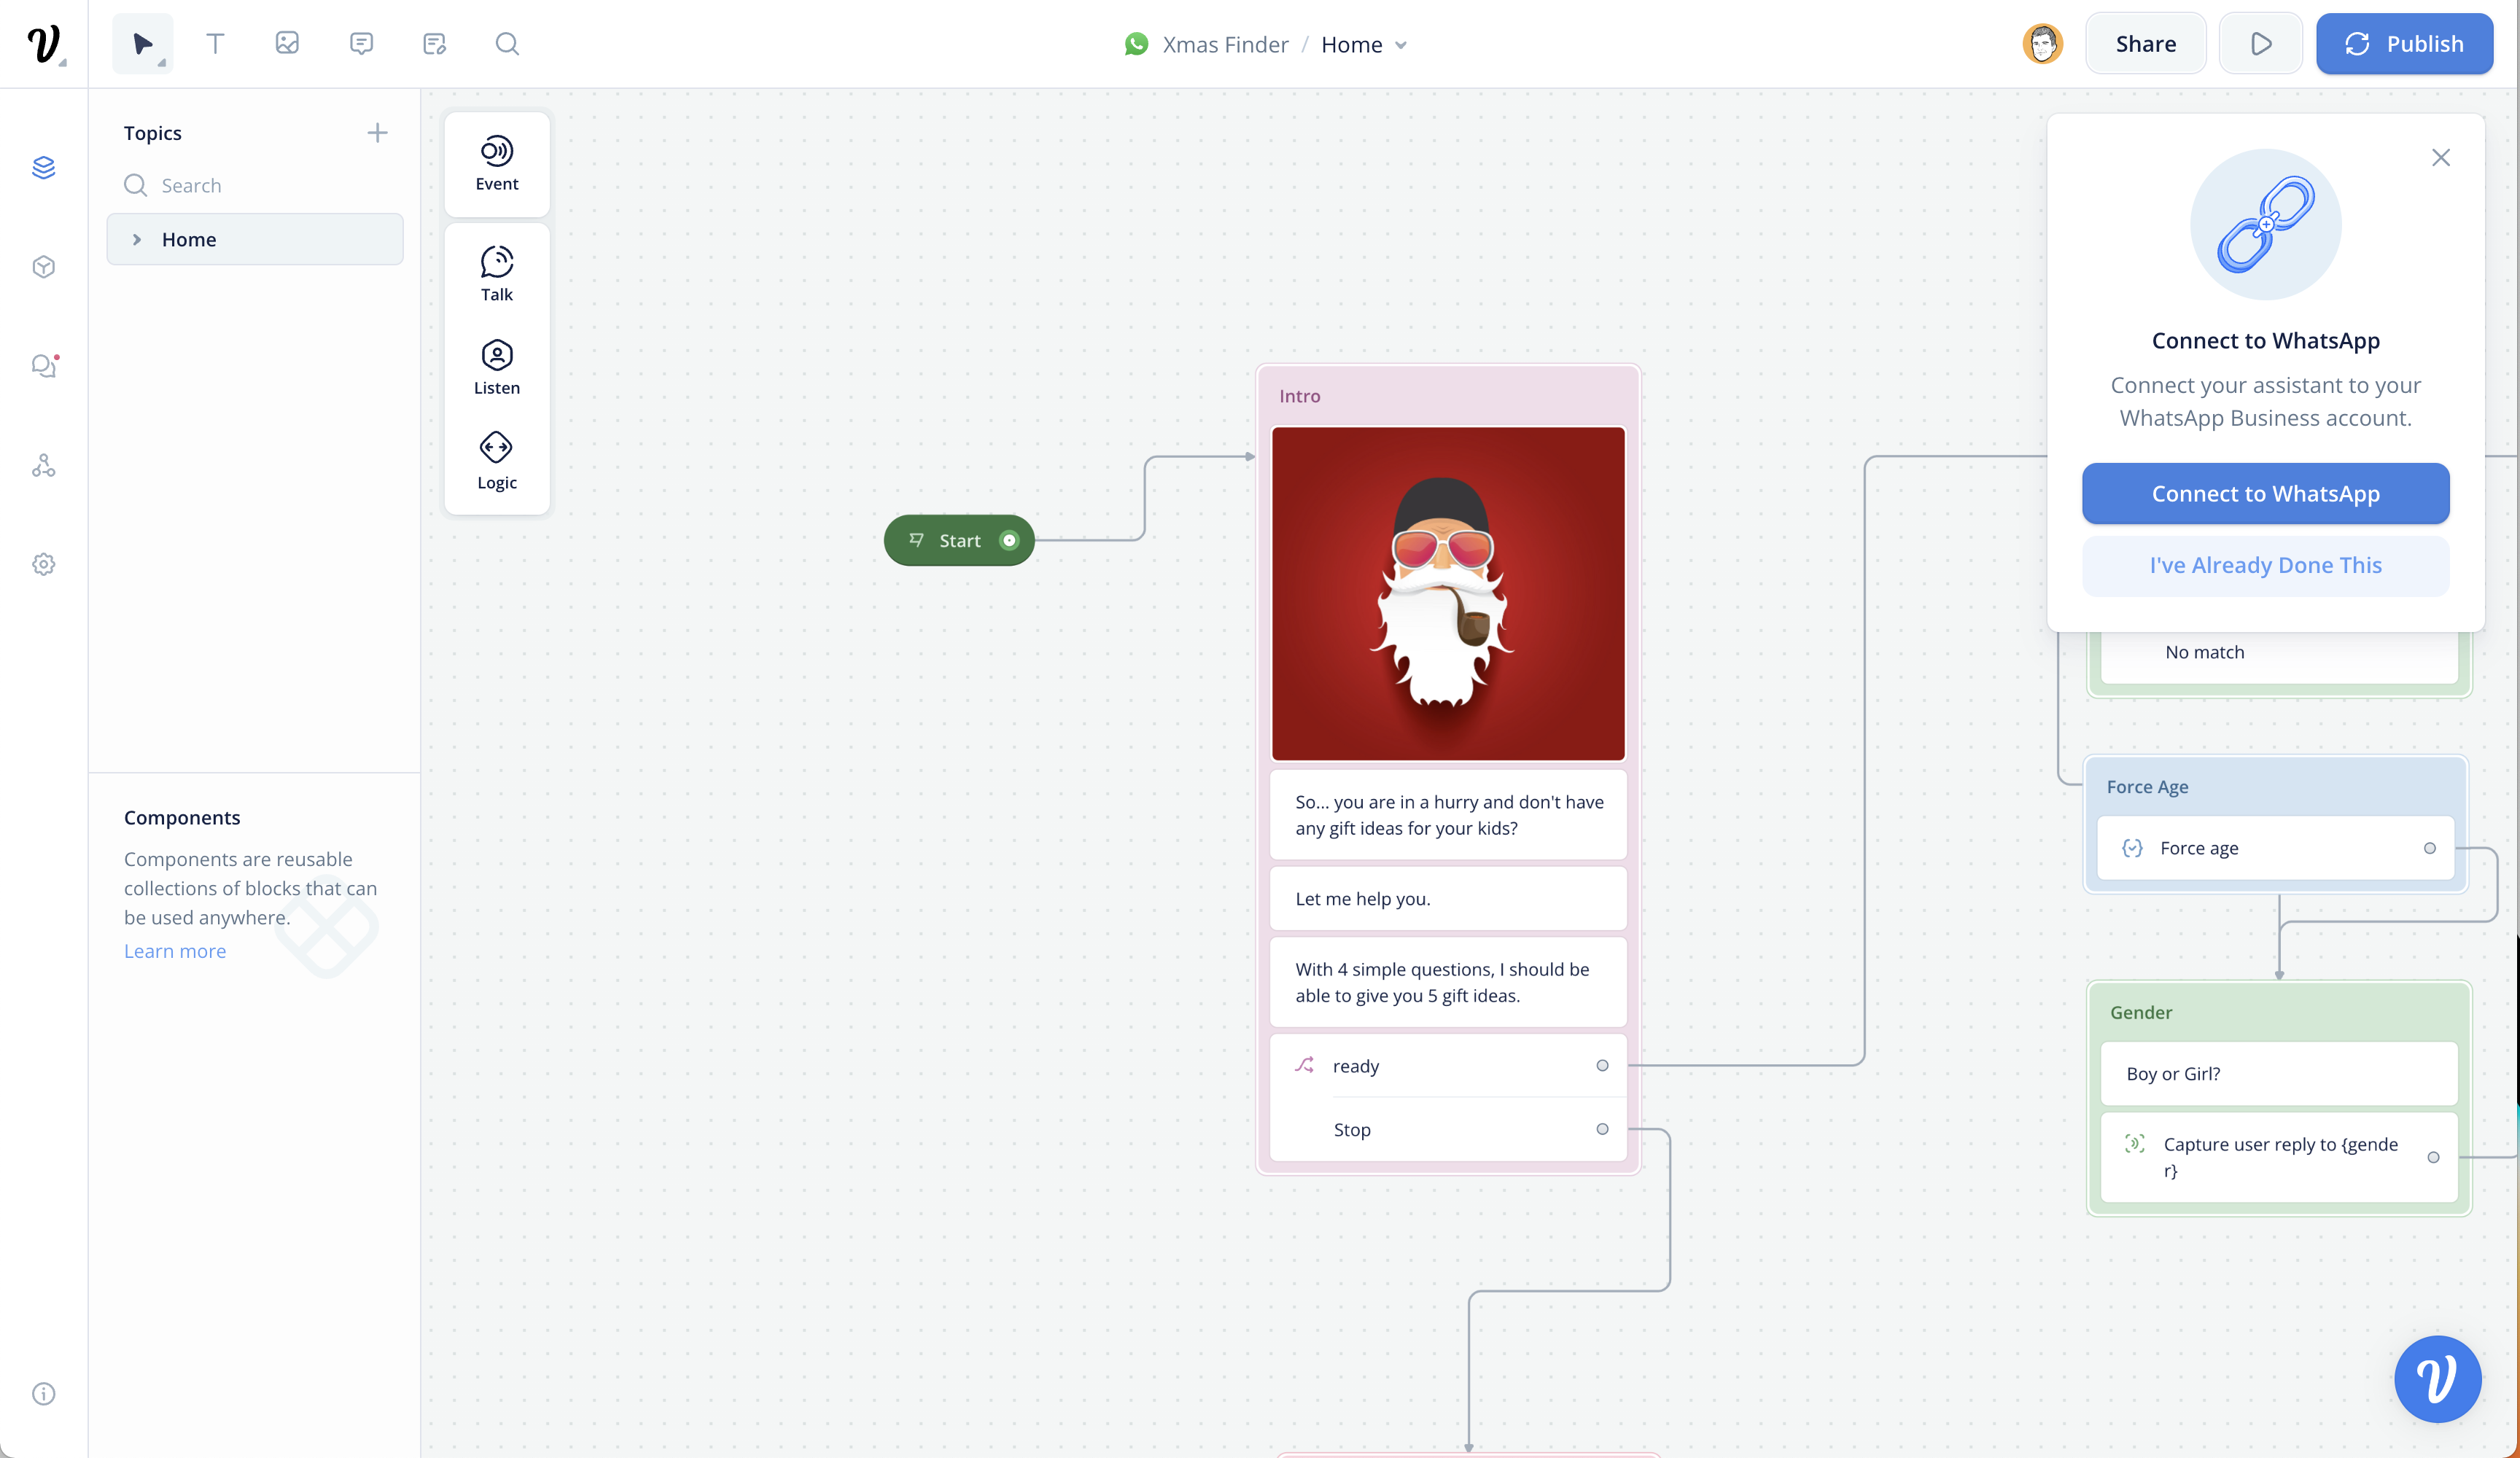
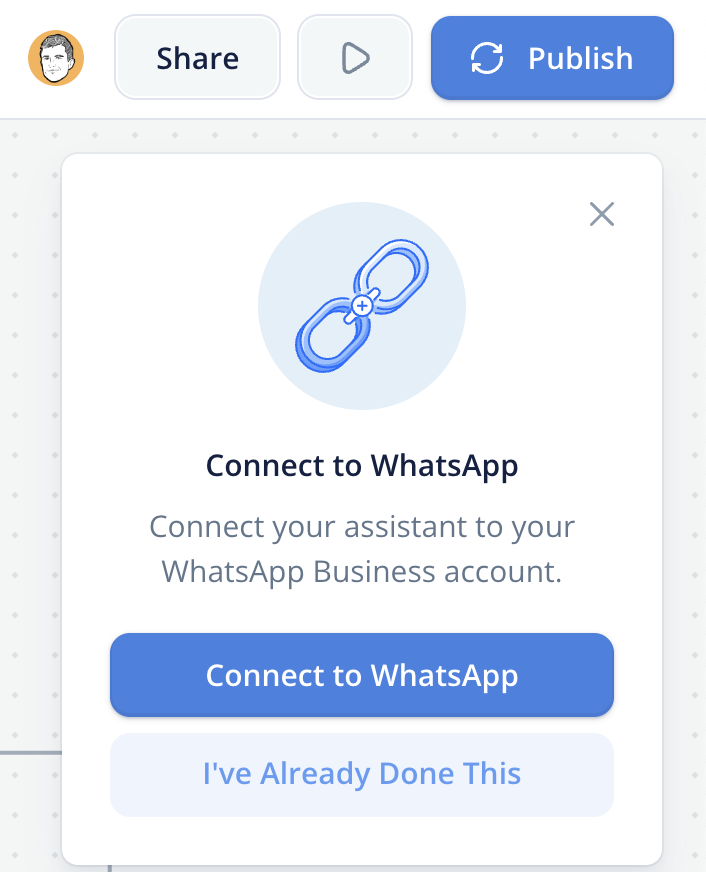
To start, select the Publish button and Connect to Whatsapp.
Copy the webhook URL from the integration page.

Navigate to your Twilio account to add a callback URL to a Twilio messaging service. You will need to do the following:
- Log in to your Twilio account.
- In the Twilio Console, navigate to the "Messaging" menu and select the "Services" option.
- Select the messaging service you want to add a callback URL to.
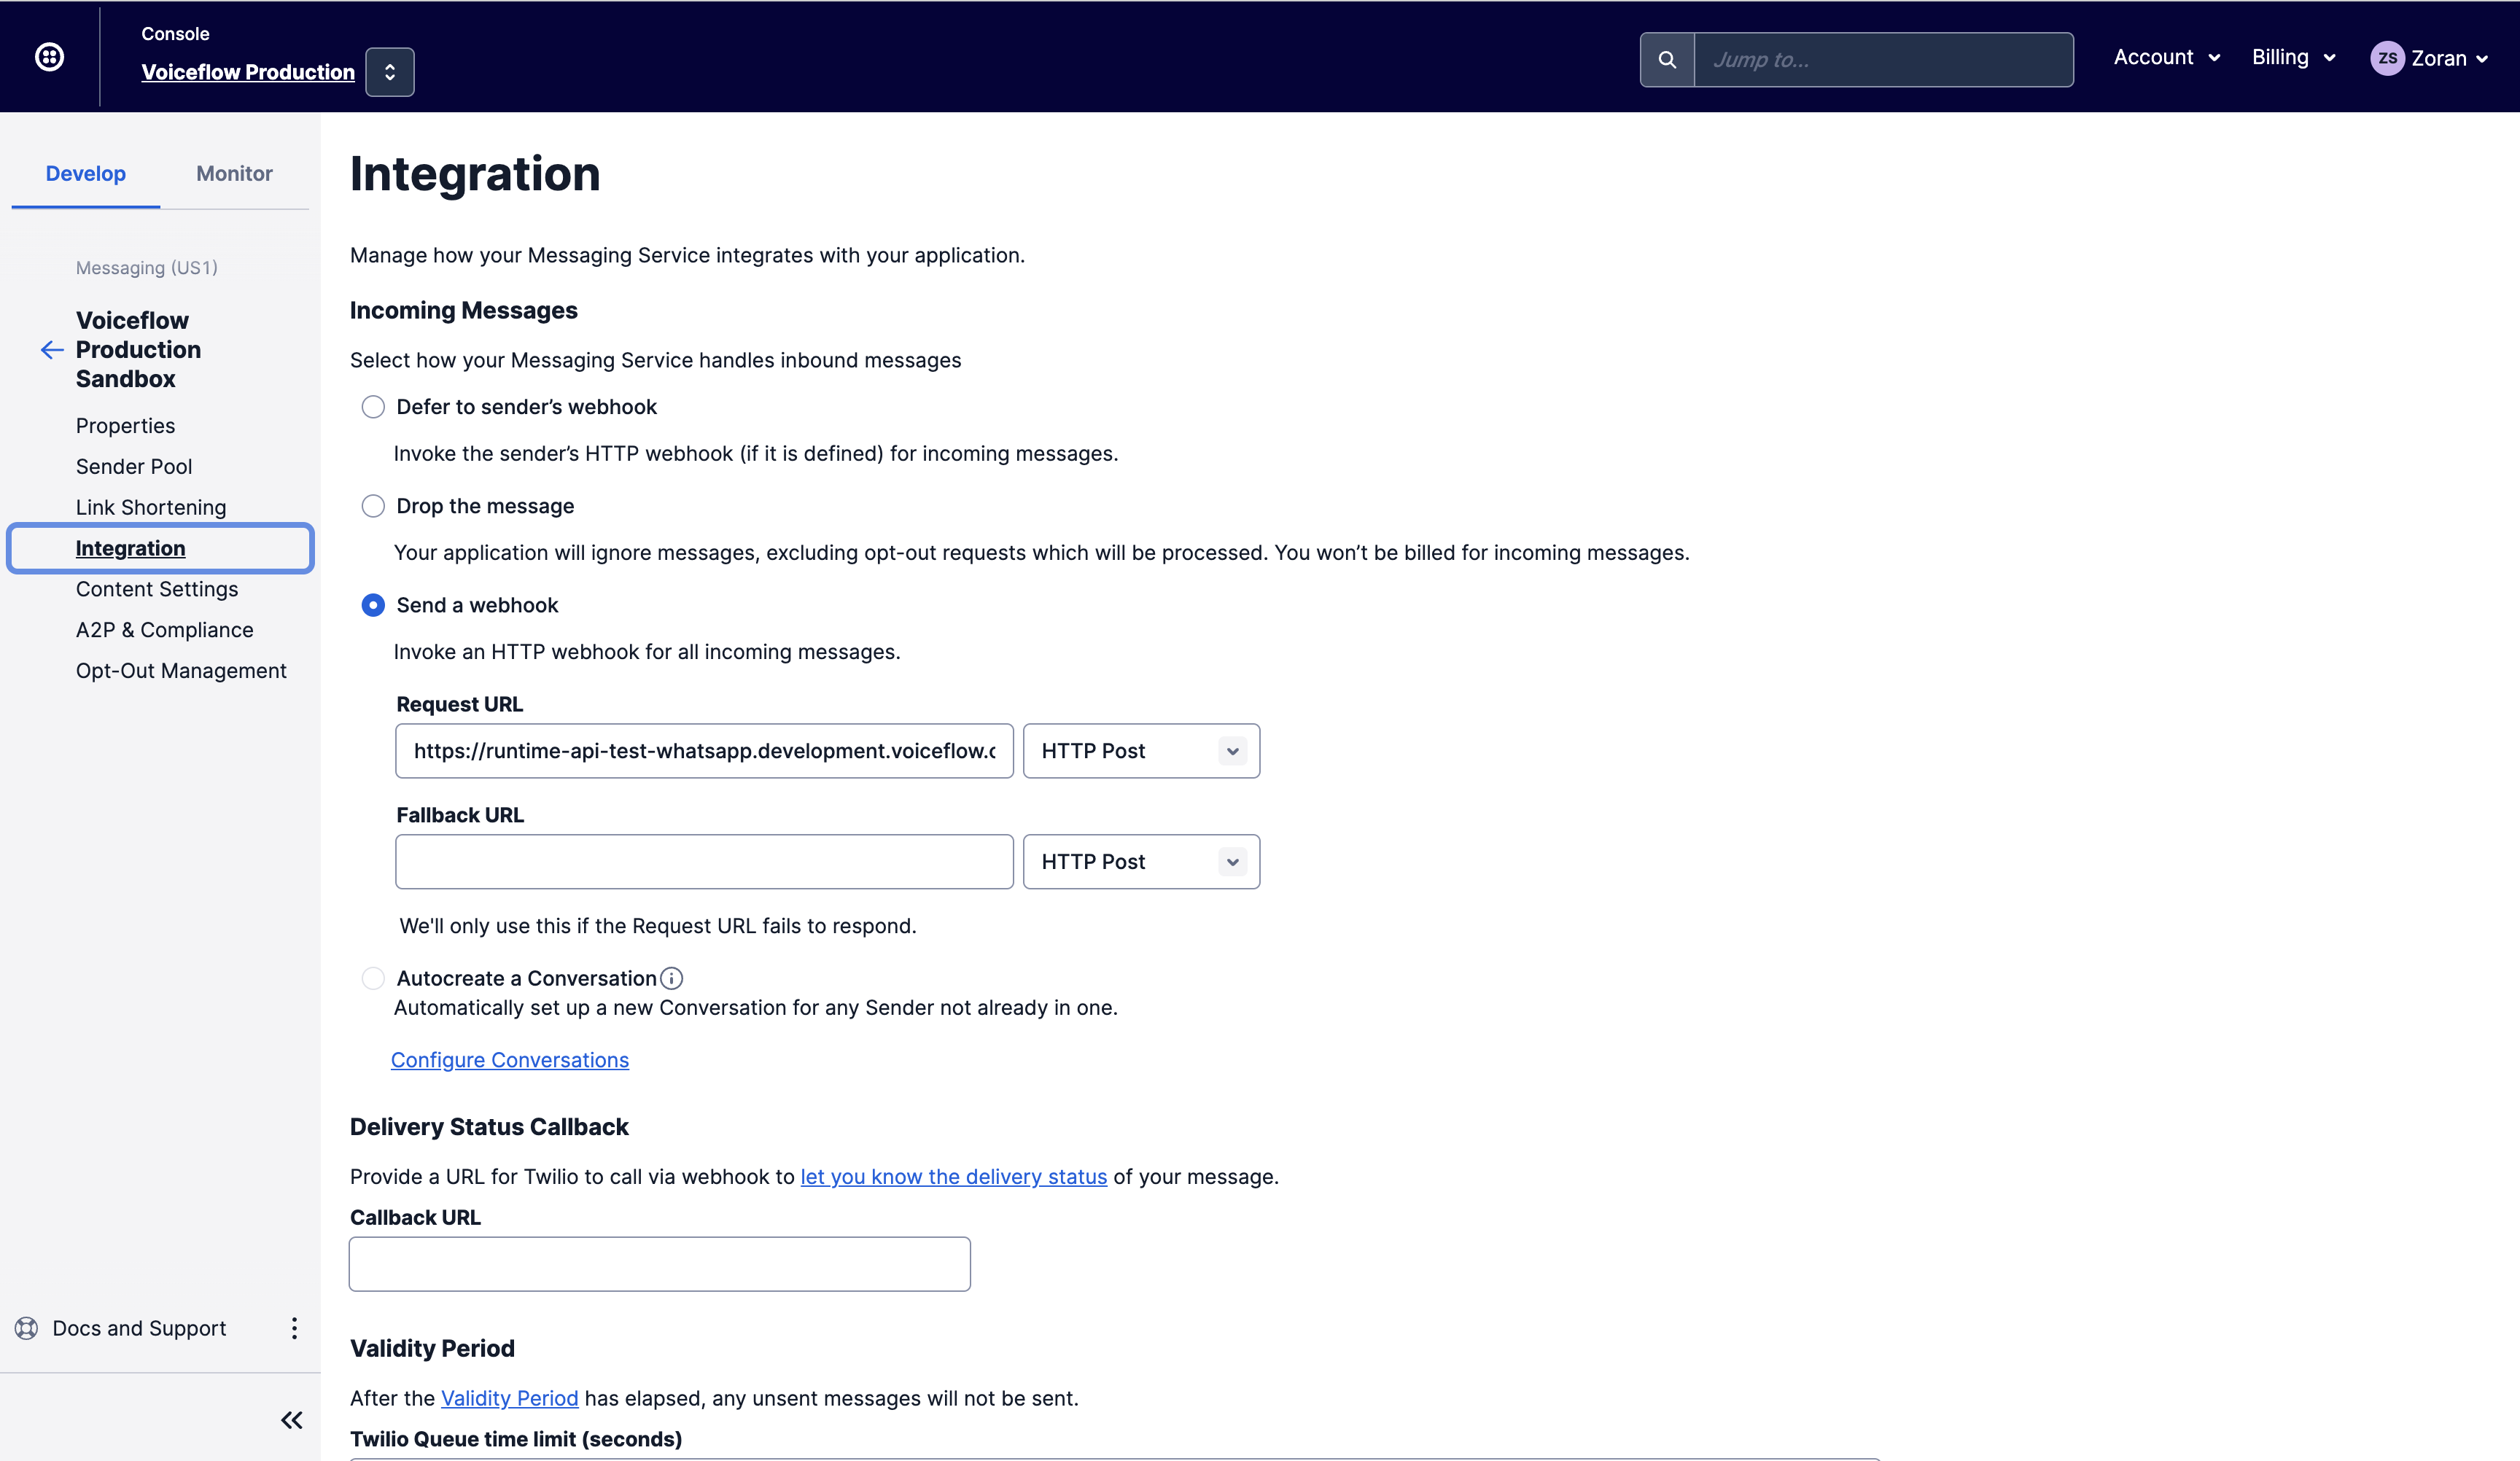
- Click on the "Integration" tab.
- Select the "Send a Webhook" option, and in the "Request URL" field, enter the URL you want to use as your callback URL.
- Click "Save" to save your changes.
- Test the callback URL by sending a message to the messaging service and verifying that the callback is triggered and functions properly.
Once you've confirmed everything is working as expected, next time you select the Publish button to push a new version from the Voiceflow canvas, select I've Already Done This.
Now whenever you are ready to update your production version of your assistant, simply select the Publish button and it will be available for all your users to interact.
Updated 4 months ago